Assembly Guide: Chrome Wire Shelving
This guide covers all aspects of assembly for products in our Chrome Wire Shelving range:
- Multipurpose Shelving
- Heavy Duty Shelving
- Mobile Shelving
- Slanted Shelving
Adjustable Shelving: Layouts shown in the product images are just a suggestion. The shelves can be adjusted every 25 mm, allowing you to customise your unit to store products in a range of sizes. Our only recommendation is that you place a shelf at the bottom and top, to create a more stable unit.
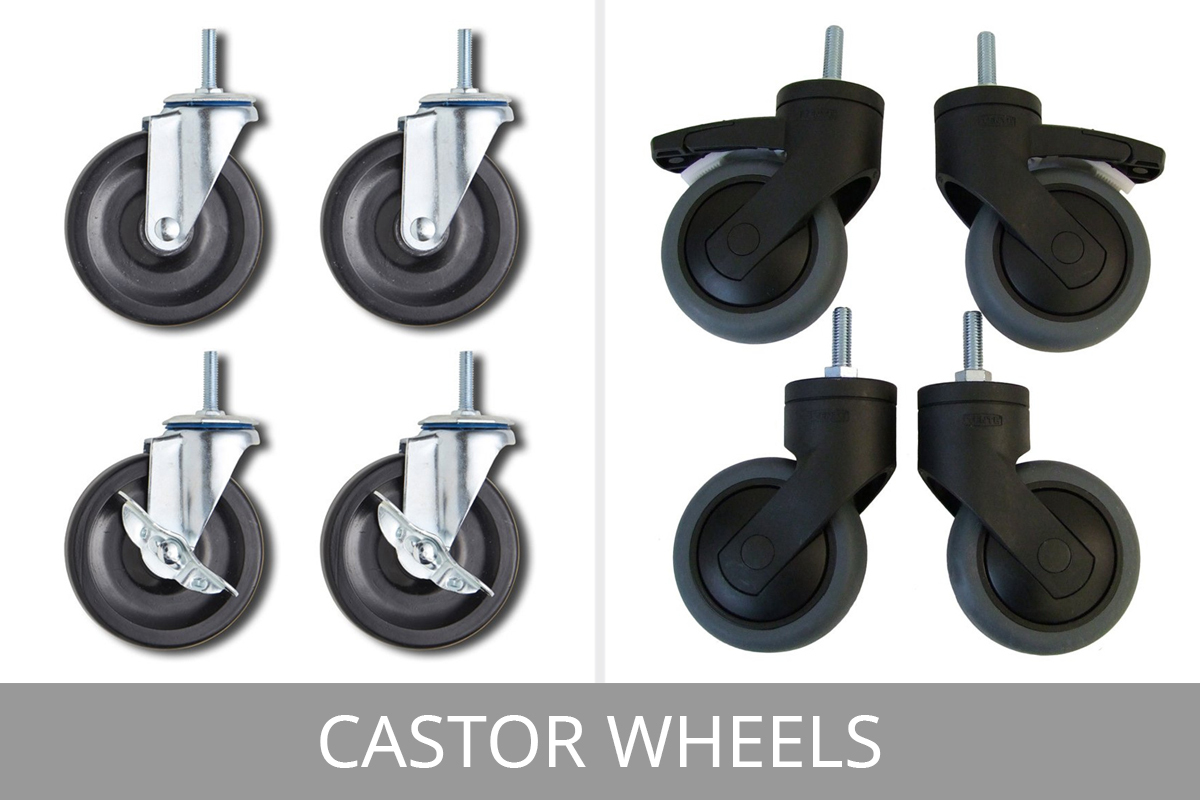
Mobile Shelving: Some of our Chrome Wire Shelving units come with Castor Wheels, giving you the ability to assemble a mobile unit. You can order wheels separately, if you decide you want to update your shelving unit in the future.
Accessories: We have a range of accessories available including Support Rails, Shelf Liners, Brackets for connecting multiple units together and more. This guide focuses on assembling the main shelving unit. Accessories are easy to add to your unit but if you require any help and/or details on compatibility, please contact our customer service team for further guidance.
Assembly Video (1m:41s)
Important Safety Information
- Read through all instructions on this page before beginning any assembly
- Before commencing assembly, unpack carefully and check you have all components
- If you think that you have received defective parts, please do not use and contact us
- Assembly will void returns, except if a manufacturing fault is found
- If you are unsure about assembly, please ask our team or a professional
- Do not overload your shelving
- Assembly is done at your own risk
Tools Required
- Rubber mallet (optional)
You don't need any tools or equipment to build your Chrome Wire Shelving unit but you may find it easier to secure the shelving onto the clips with a rubber mallet. If you do use a rubber mallet, make sure you don't hit the shelves too hard or you may damage them. You could use a towel or similar to add some extra cushion/protection.
Components in your Box
Depending upon which model, or shelving arrangement you have purchased, these are some of the parts included - check your product’s page for a list of individual components on specific kits. Note that if you want to adapt or extend your shelving unit, you can do this by purchasing additional components from this website. If you need help selecting the right items, speak to us.
Things to note before Assembly
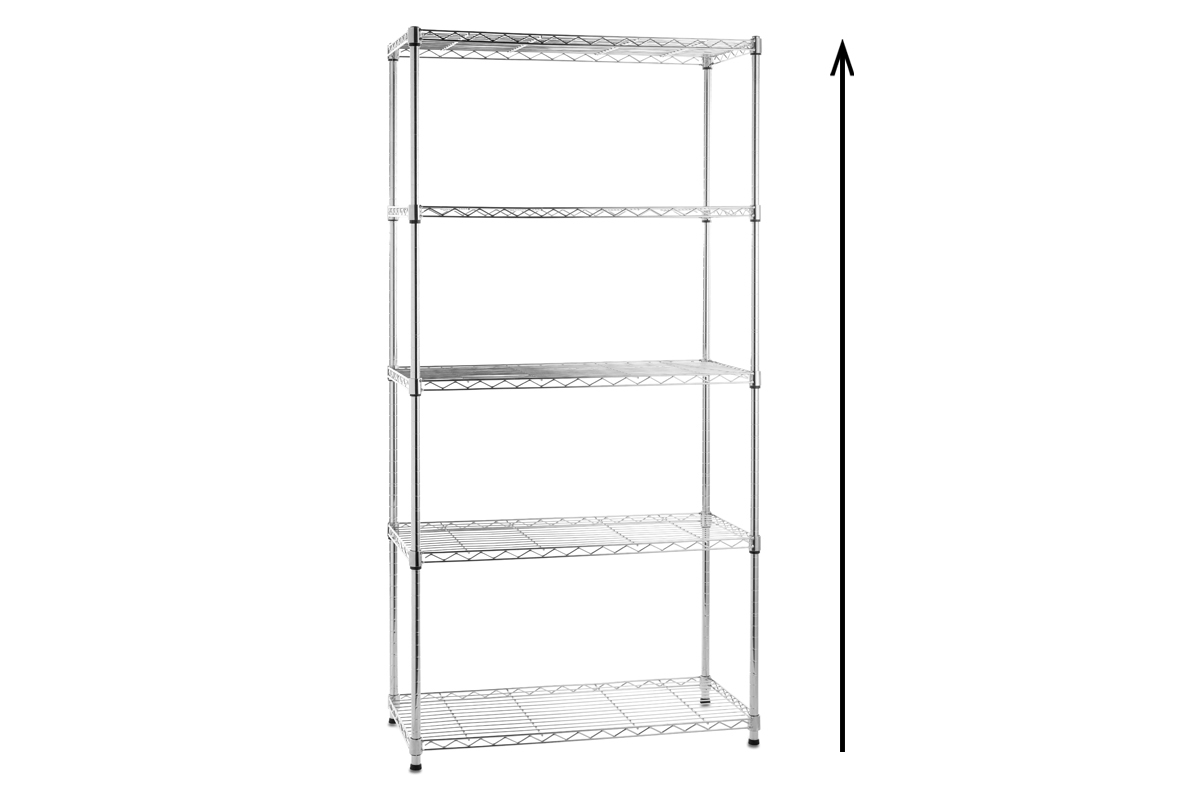
Shelves can be set at different heights..
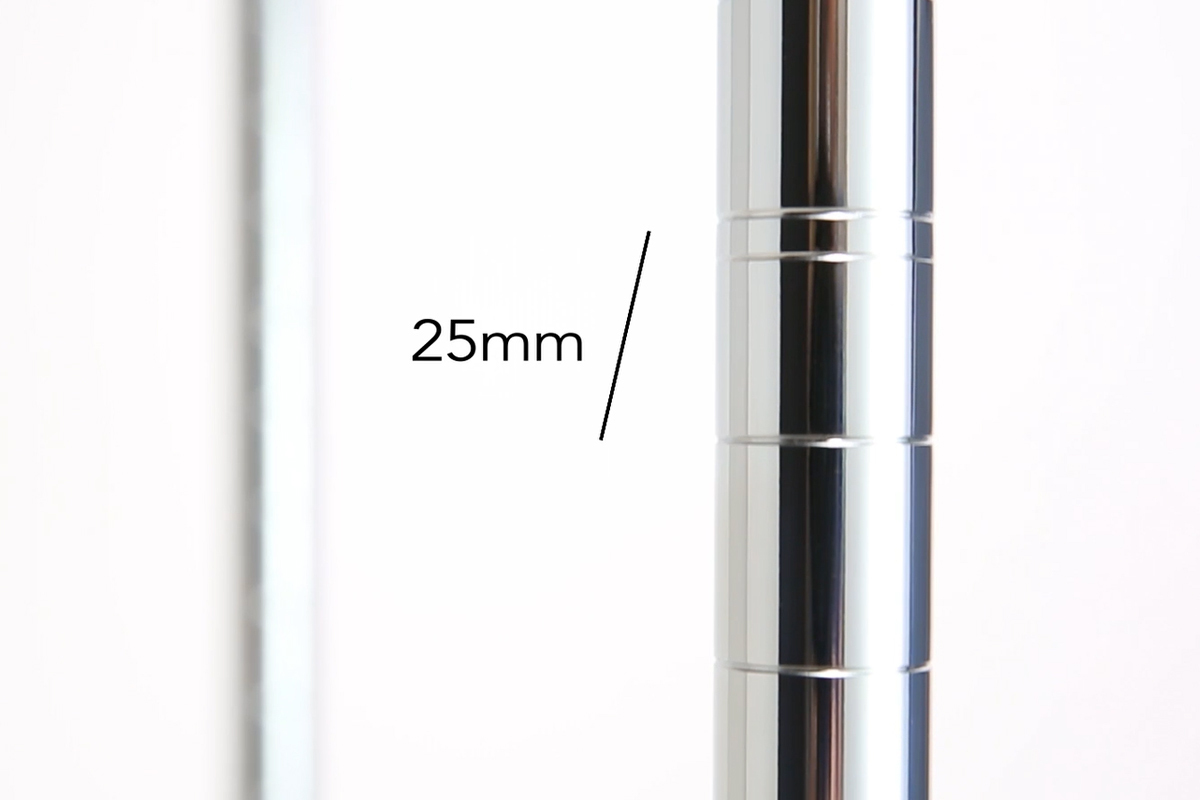
Shelves can be positioned at intervals of 25mm, so where you place your shelves is entirely up to you. Our images on our site are examples of shelf placement.
.. but we recommend a top and bottom shelf
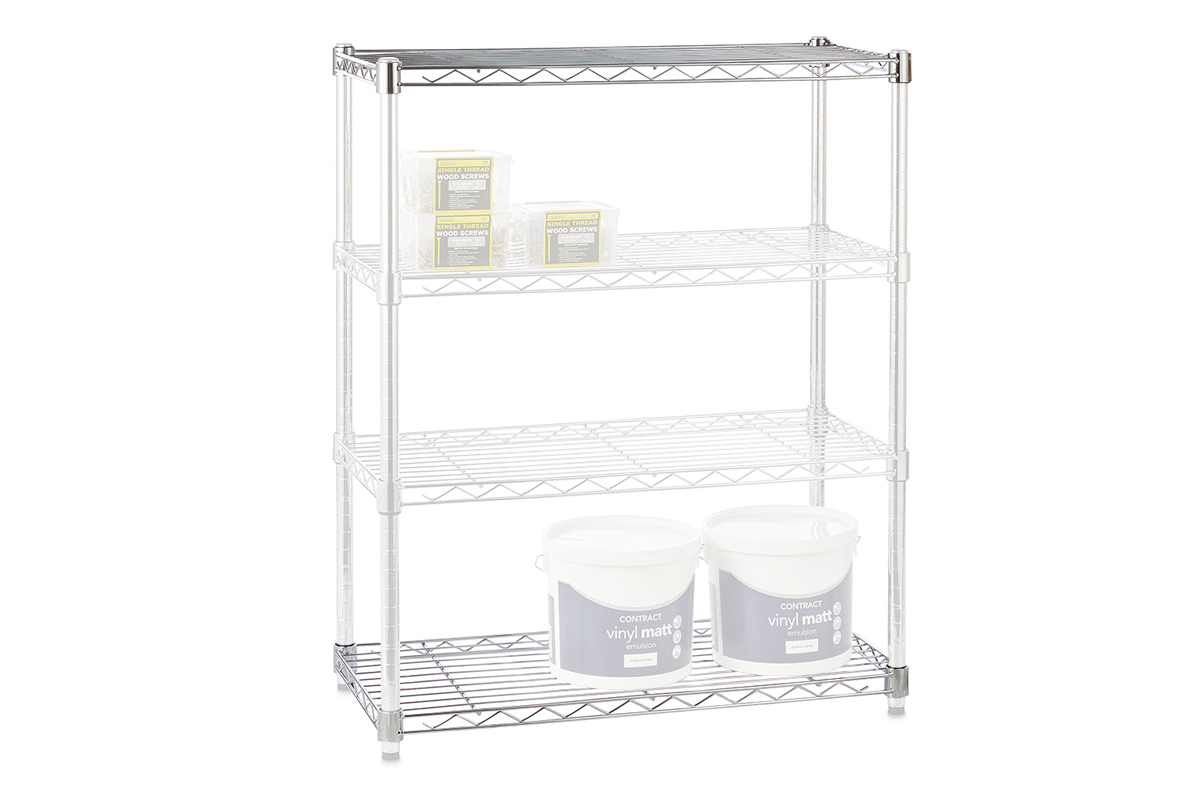
We recommend for stability having the lower shelf fitted at the very bottom by the feet/wheels and the highest shelf at the very top.
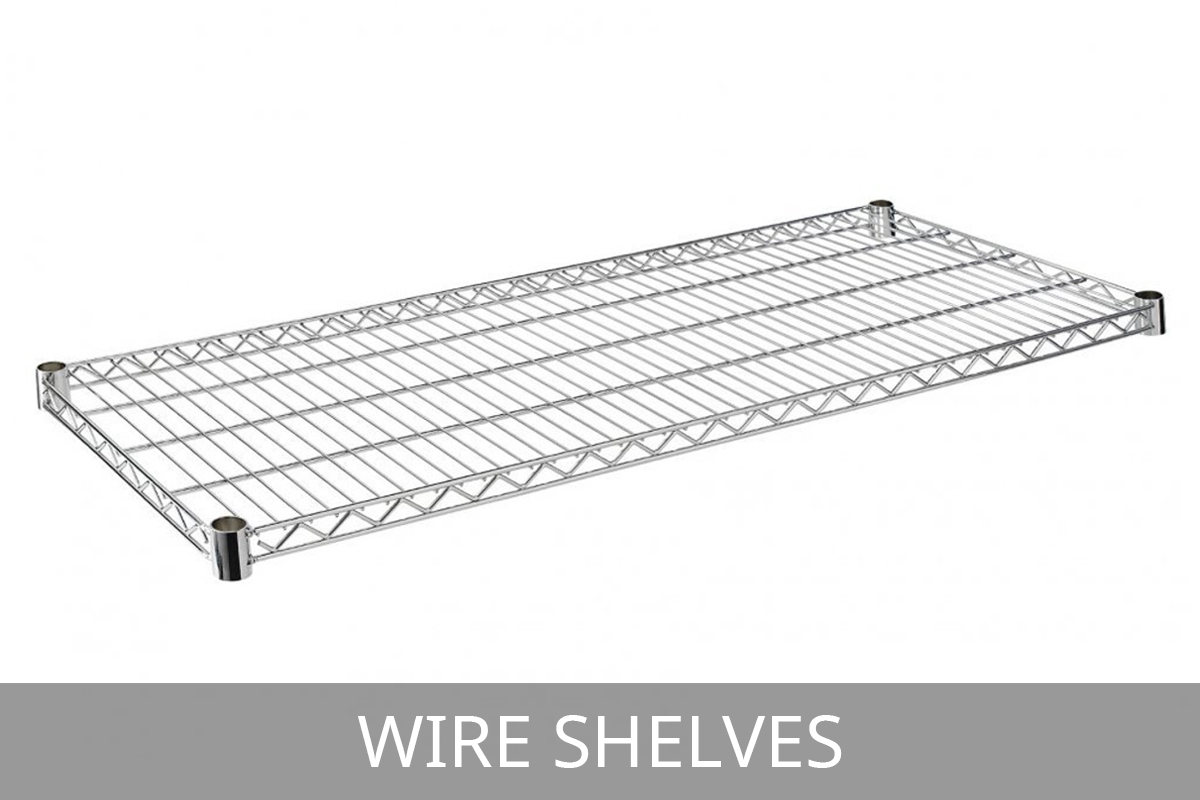
The shelves will sit on top of the support clips
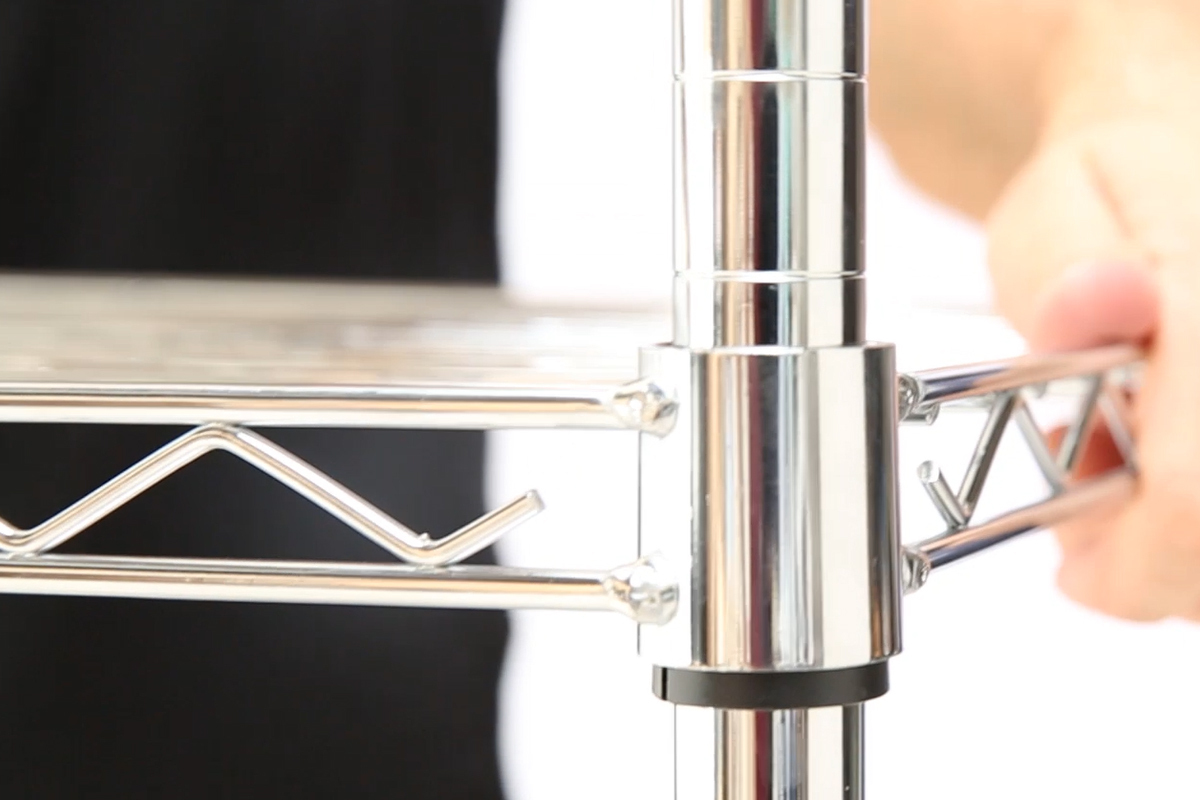
When assembled, you may notice that the support clips are a bit visible. This is normal, as the corners of the shelves (where the posts go) are tapered to ensure a secure unit.
Please note: On the Light-Duty units, the shelves will be orientated the other way around, with the border/edge pointing up.
Starting of Assembly
Check your components
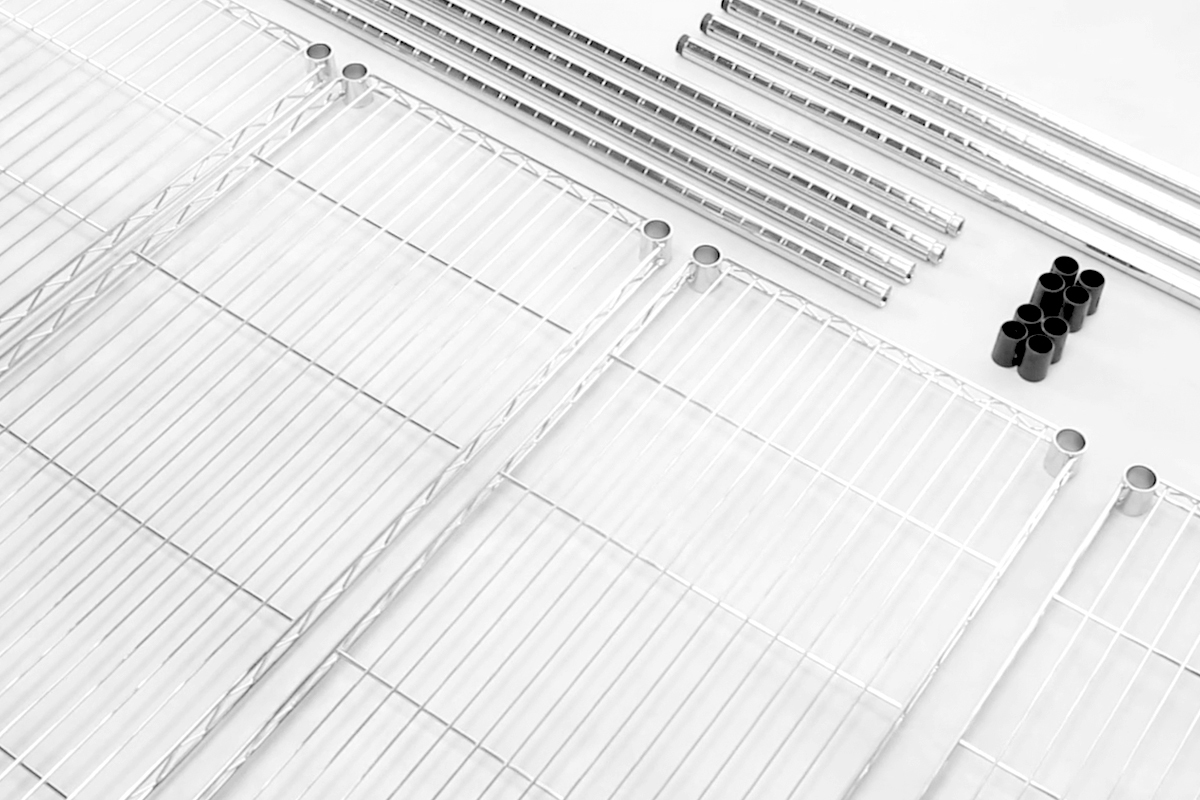
We recommend starting by setting out all components out in front of you, to make finding everything easy.
The components you have will vary depending on the unit. You can find detailed information on this on the product pages.
Build from the ground up
Units are built starting from the bottom (with the feet or wheels) and then the support clips, shelves, and additional upright posts.
Adding Feet or Castor Wheels
Adjustable Feet
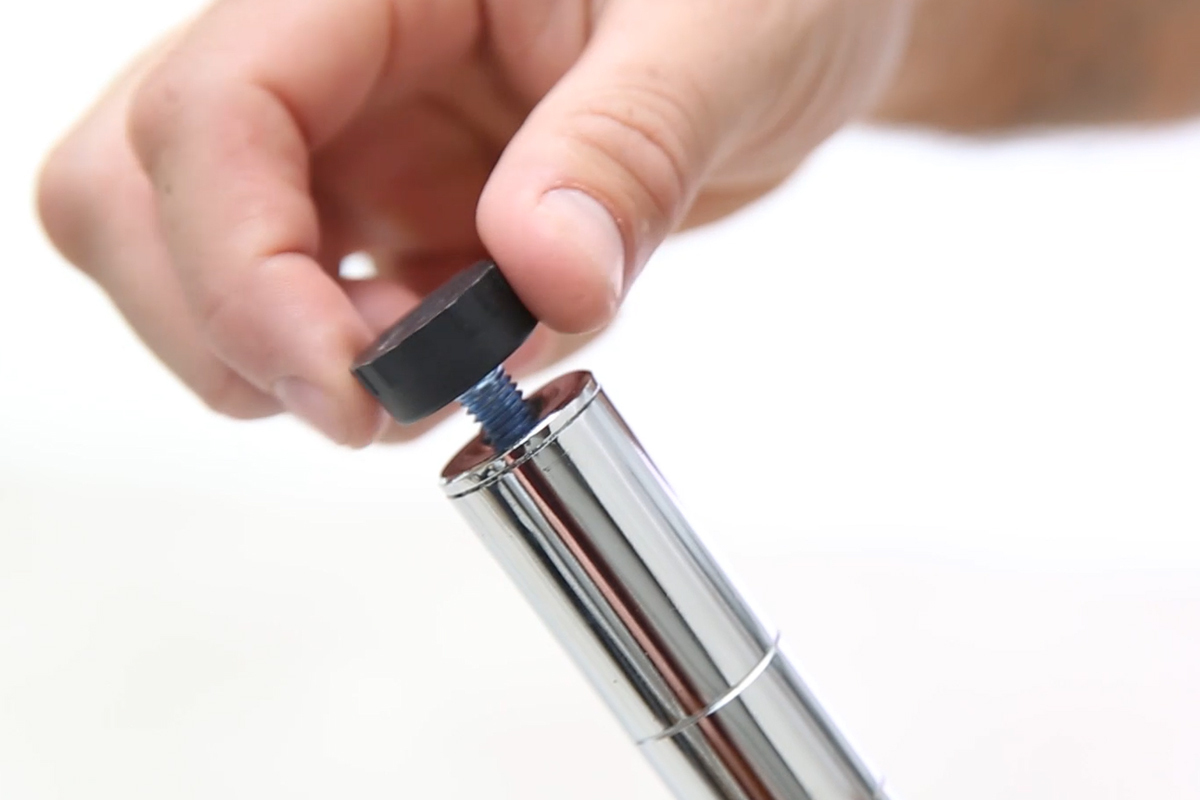
Screw in the adjustable feet into the lower posts.
The feet can be set at different levels to account for uneven flooring.
Castor Wheels
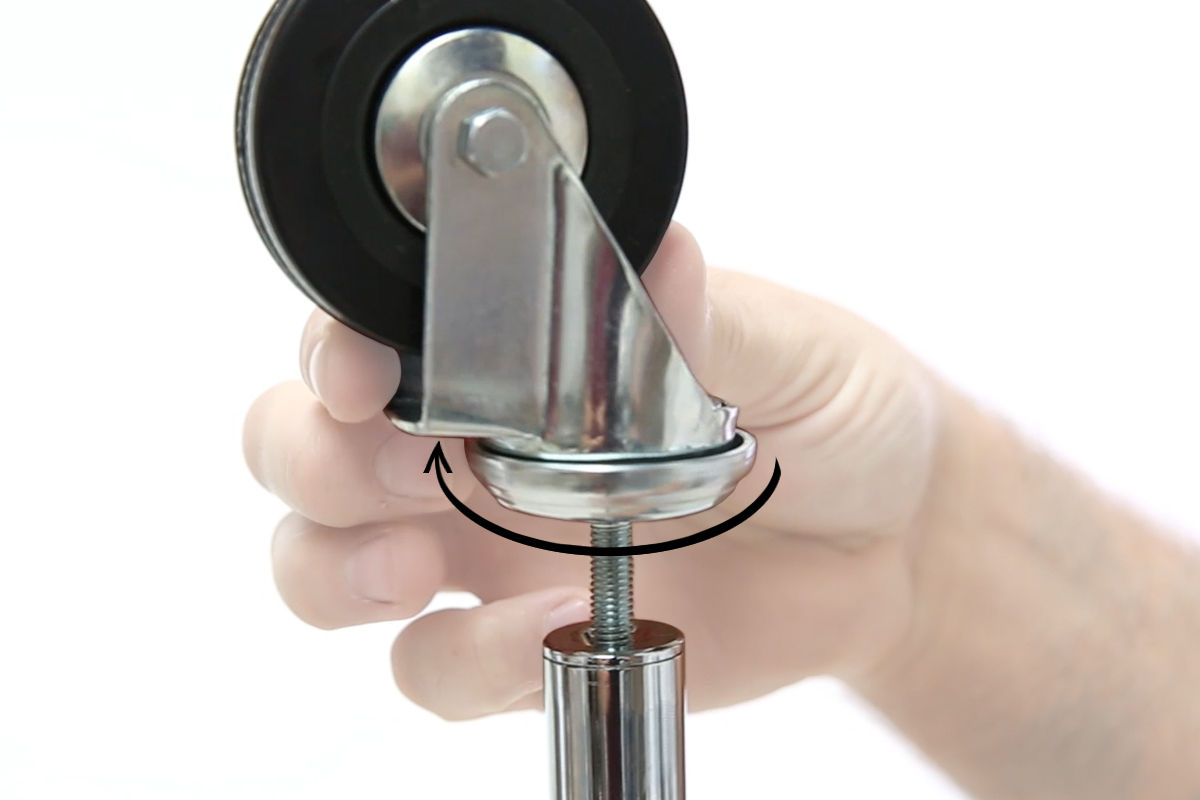
If you've opted for castor wheels, screw these into the lower posts instead.
We recommend doing this before assembling your unit.
Assembling the rest of your Shelving Unit
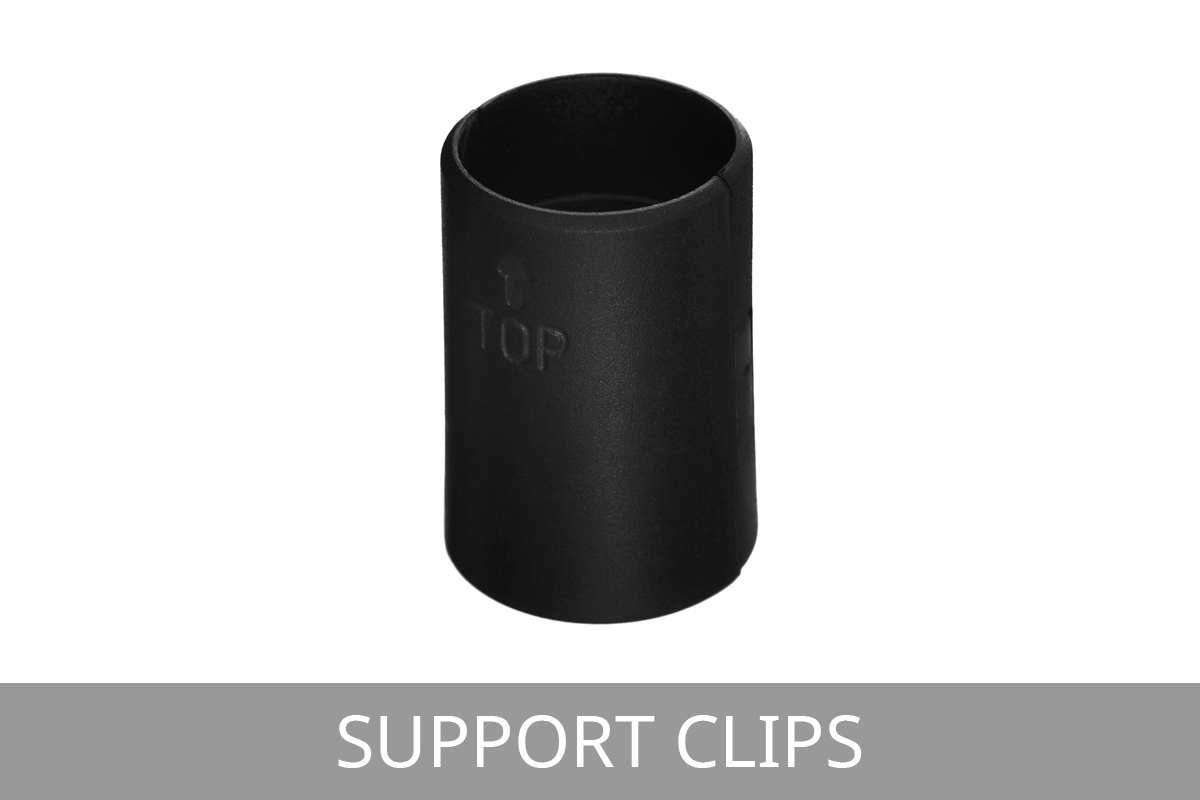
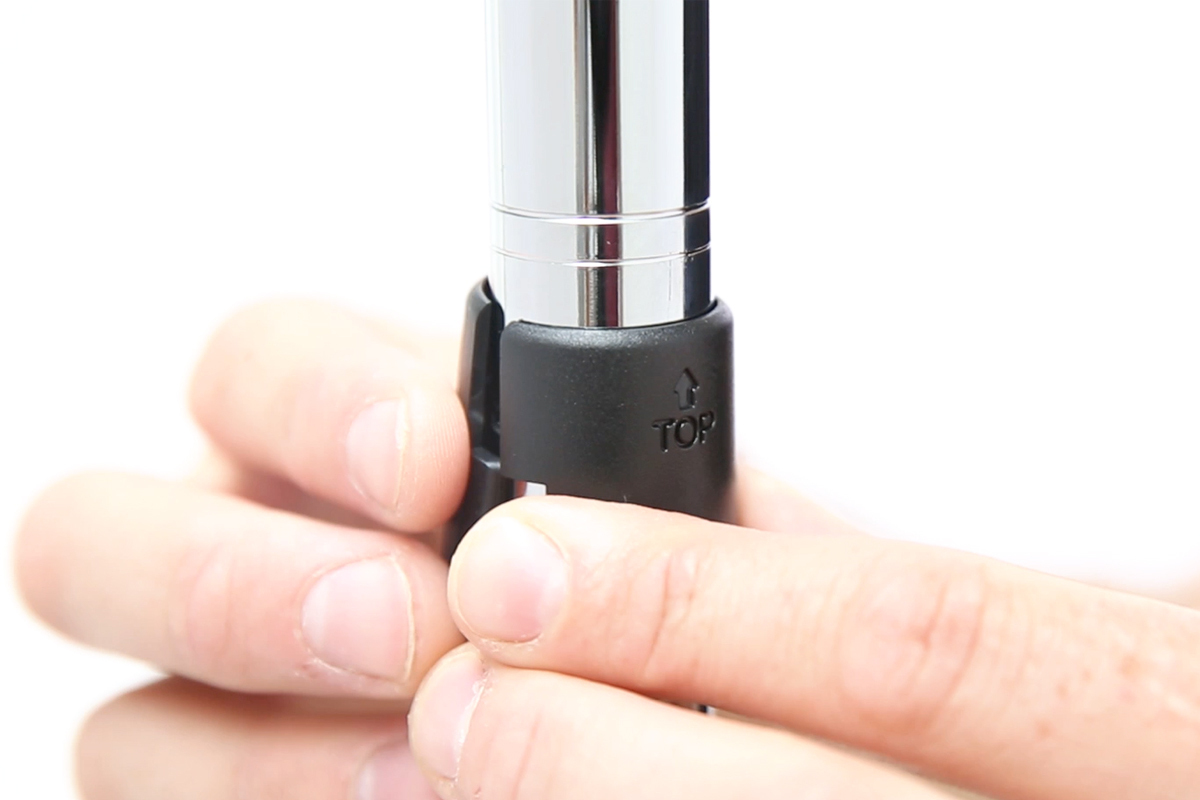
1. Add Support Clips to the posts
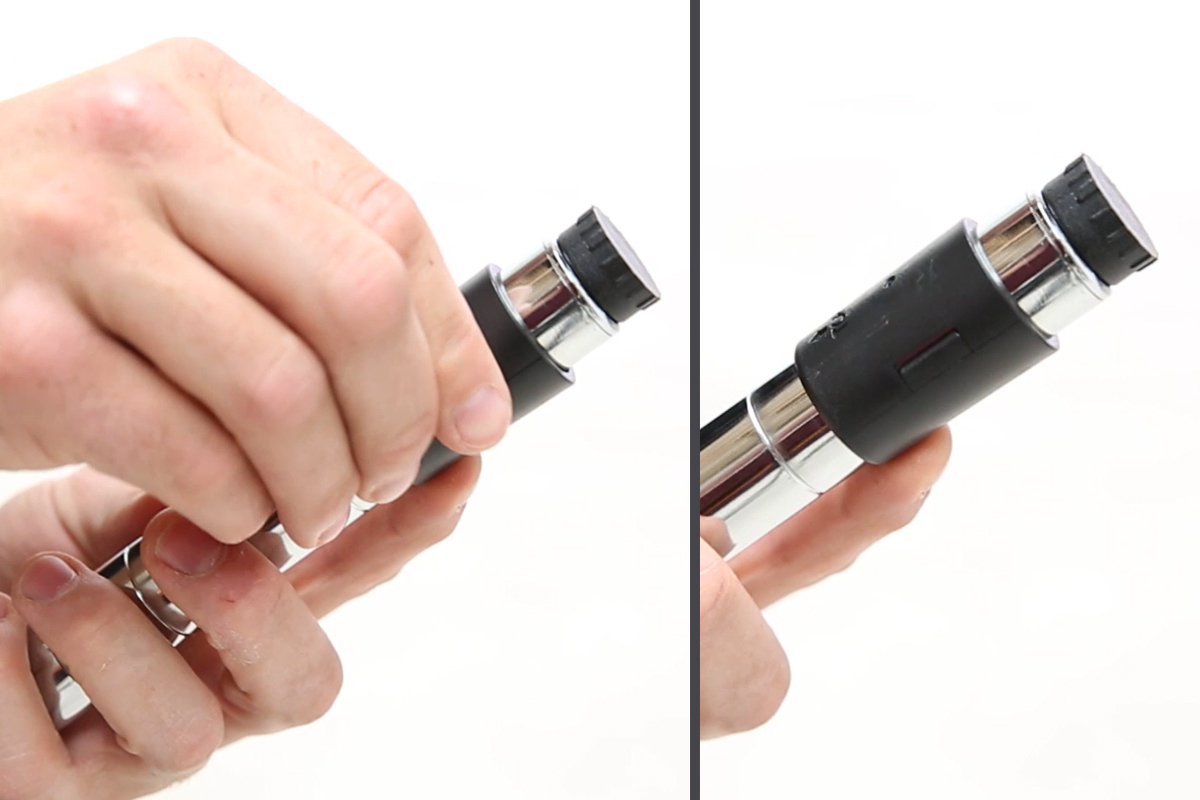
Start assembling your unit (after fitting feet or castor wheels) by adding the black support clips to the upright posts at the height you wish to place the first shelf, nearest the feet.
2. Insert Upright Posts into first Shelf

Lay a shelf on it's side and insert the posts into the corners of the shelf, until the shelf rests on top of the black support clips.
Ensure you have your shelf the correct way up, so that the border section is facing downwards. The Light-Duty Units are the exception to this, with the border section facing upwards.
3. Flip the Shelving onto it's feet
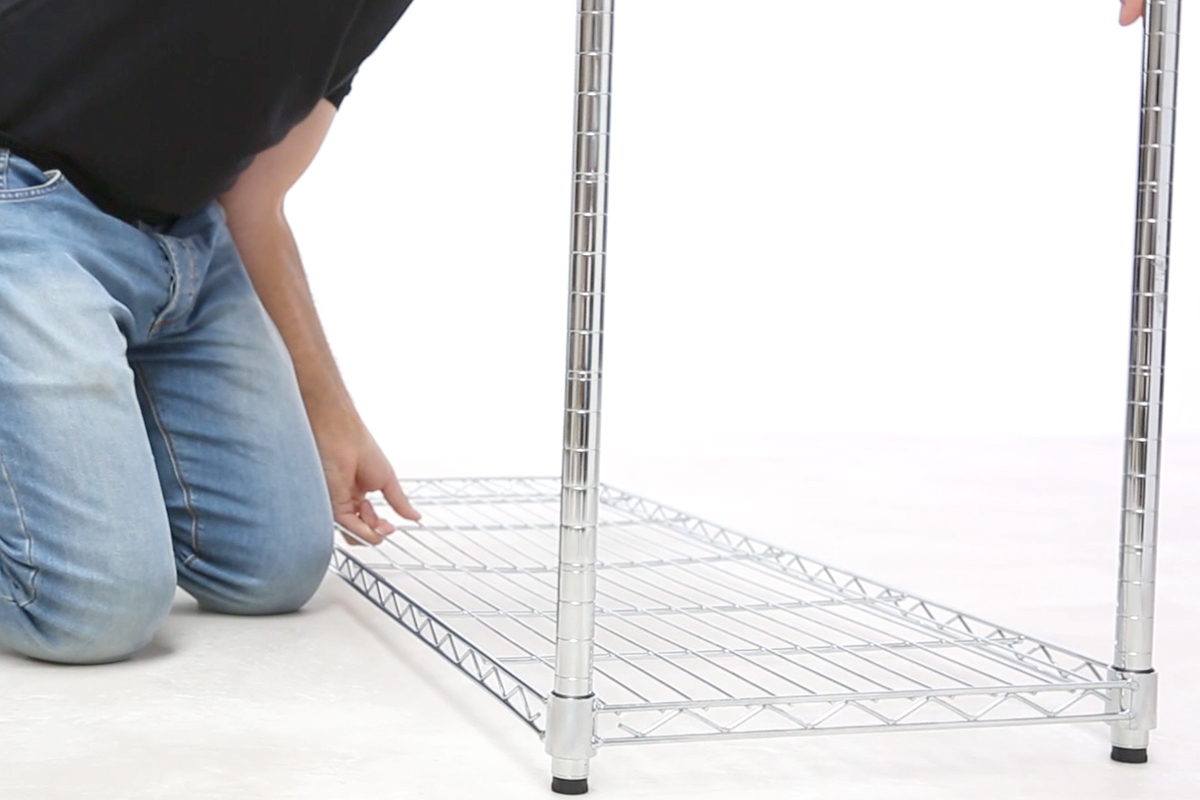
After adding all posts, you can flip the shelving onto it's feet/wheels.
We recommend holding onto either side of the shelf so it remains secure, rather than by the posts.
4. Position the next Support Clips
Add the next set of support clips, so that they are at the same level on each post.
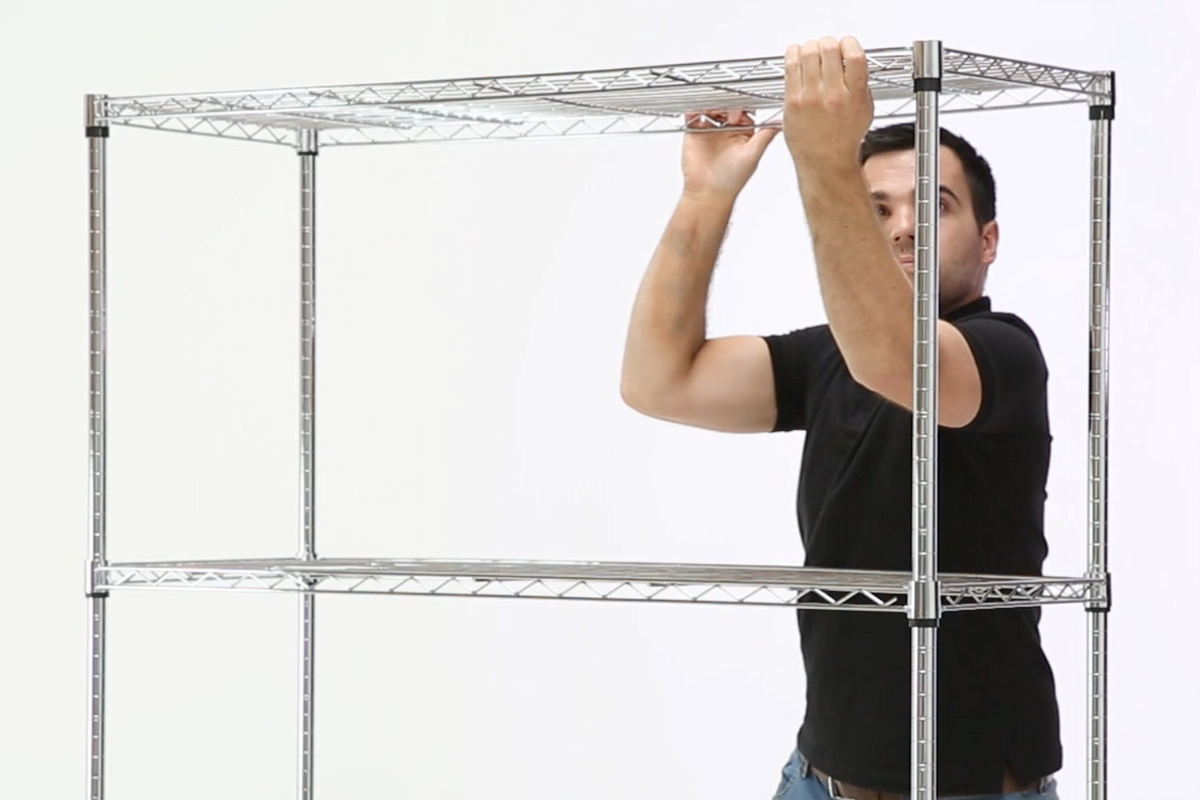
5. Add the next Shelf
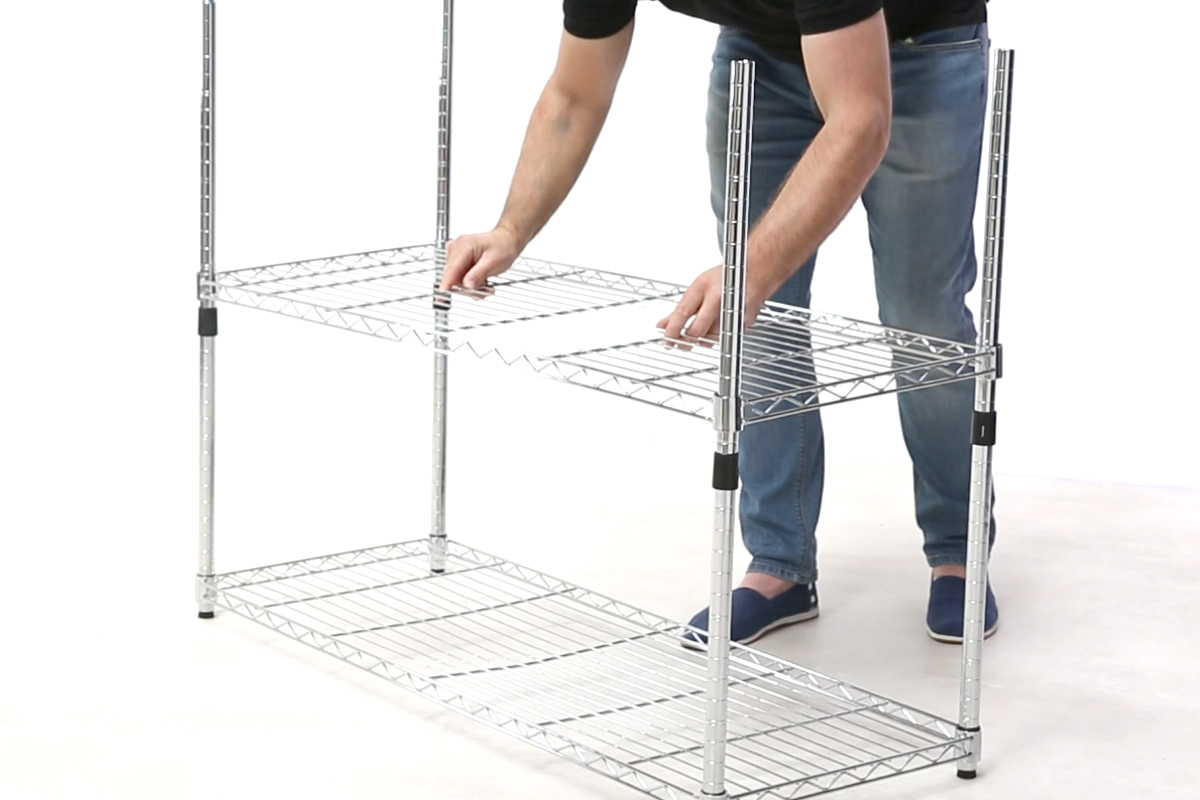
Slide the next shelf down gently over the upright posts and secure onto the black support clips.
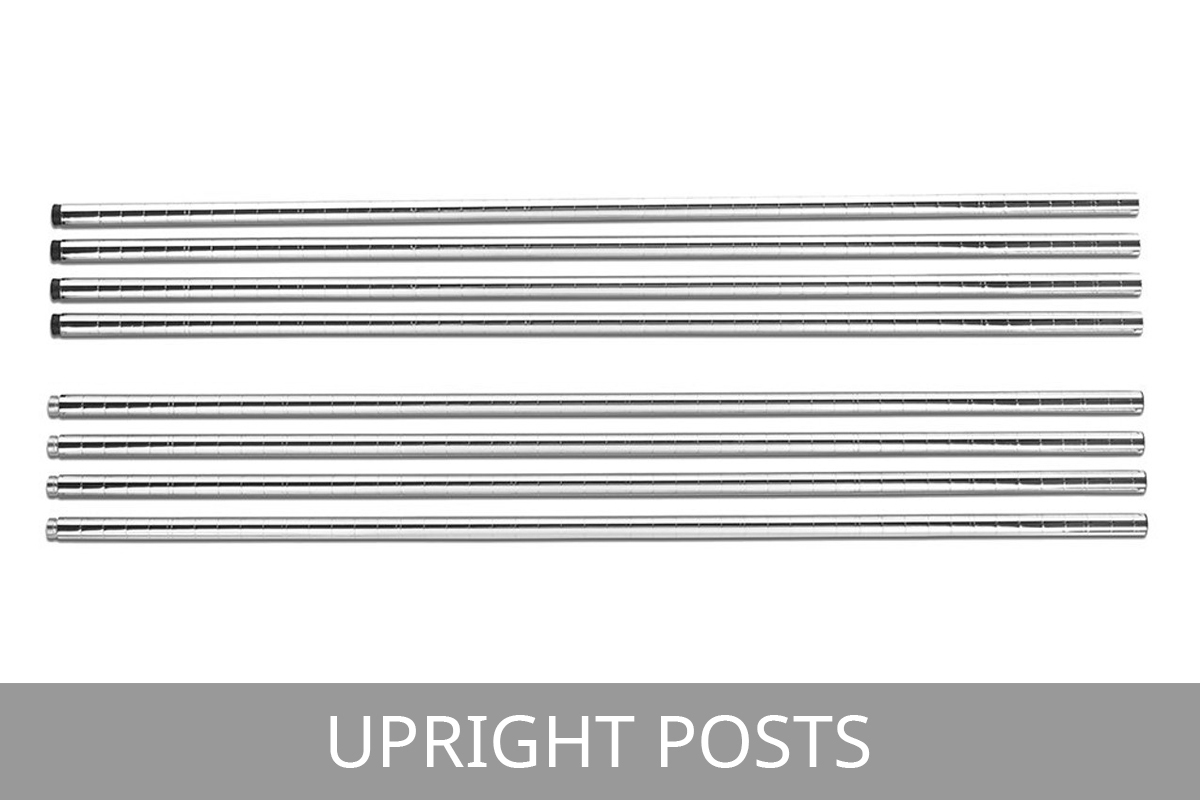
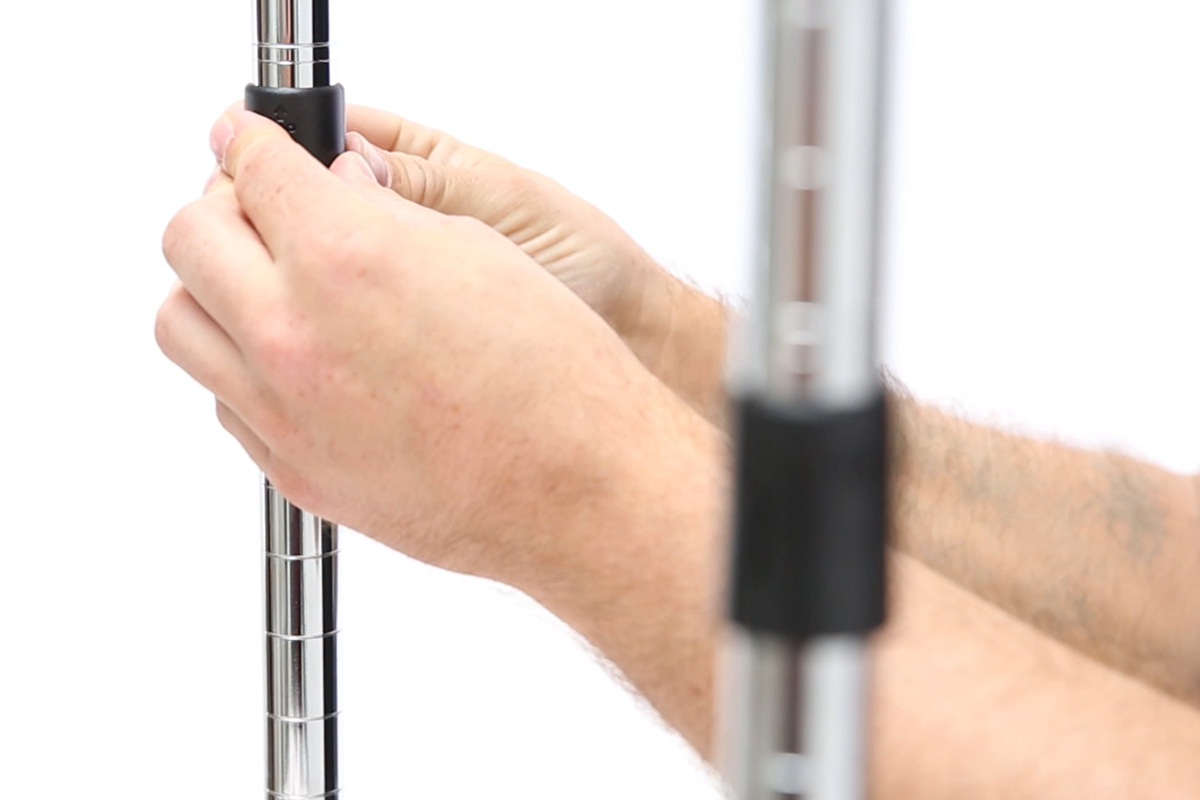
6. Fit the upper posts (if required)
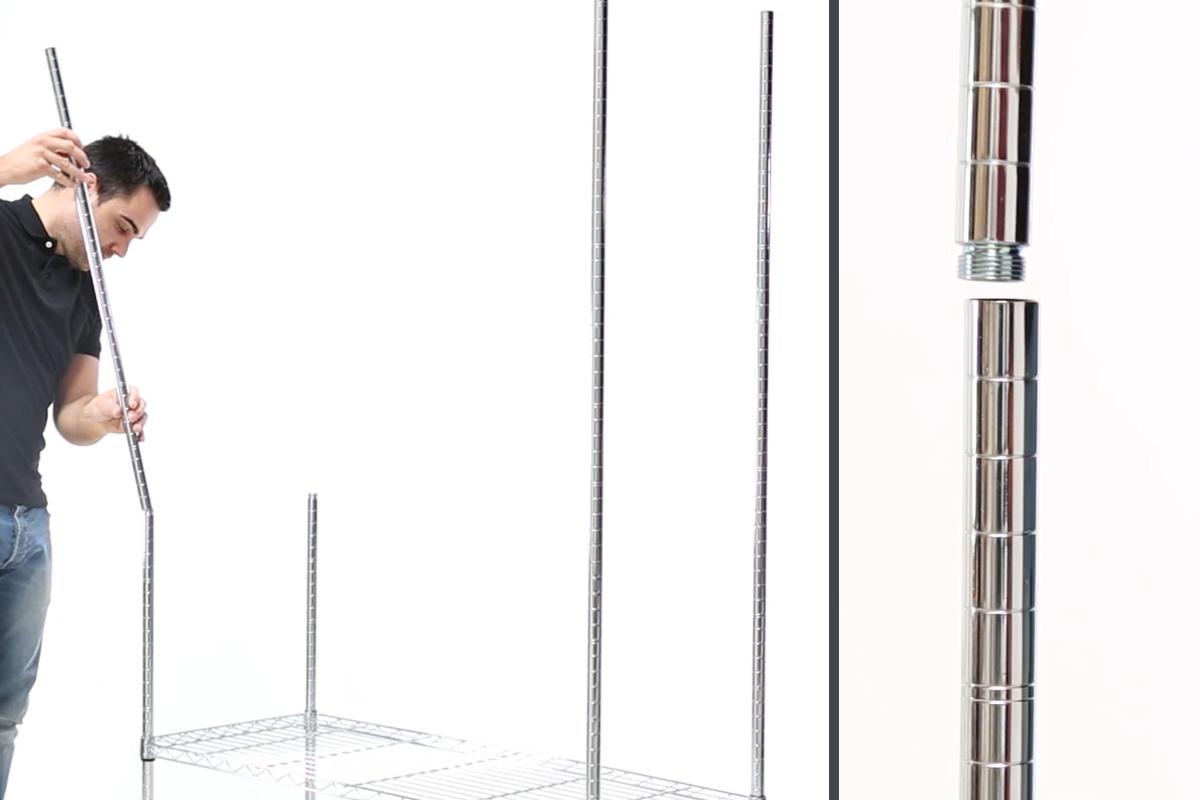
Take the upper posts and screw them into the lower posts using the inlay connector screws to form the full height upright.
Note - shorter uprights are supplied in one piece only.
7. Repeat as required
Repeat previous steps to add more shelves as needed to complete your Chrome Wire Shelving unit.
8. Add the last shelf to the top
As mentioned earlier, you can set the shelves at your preferred height but we recommend having a shelf at the very top for a secure unit.
Chrome Wire Shelving Variations
Slanted Shelving
For slanted shelving, the assembly remains the same except the support clips are not placed evenly on all four corners.
Wine Rack Shelving
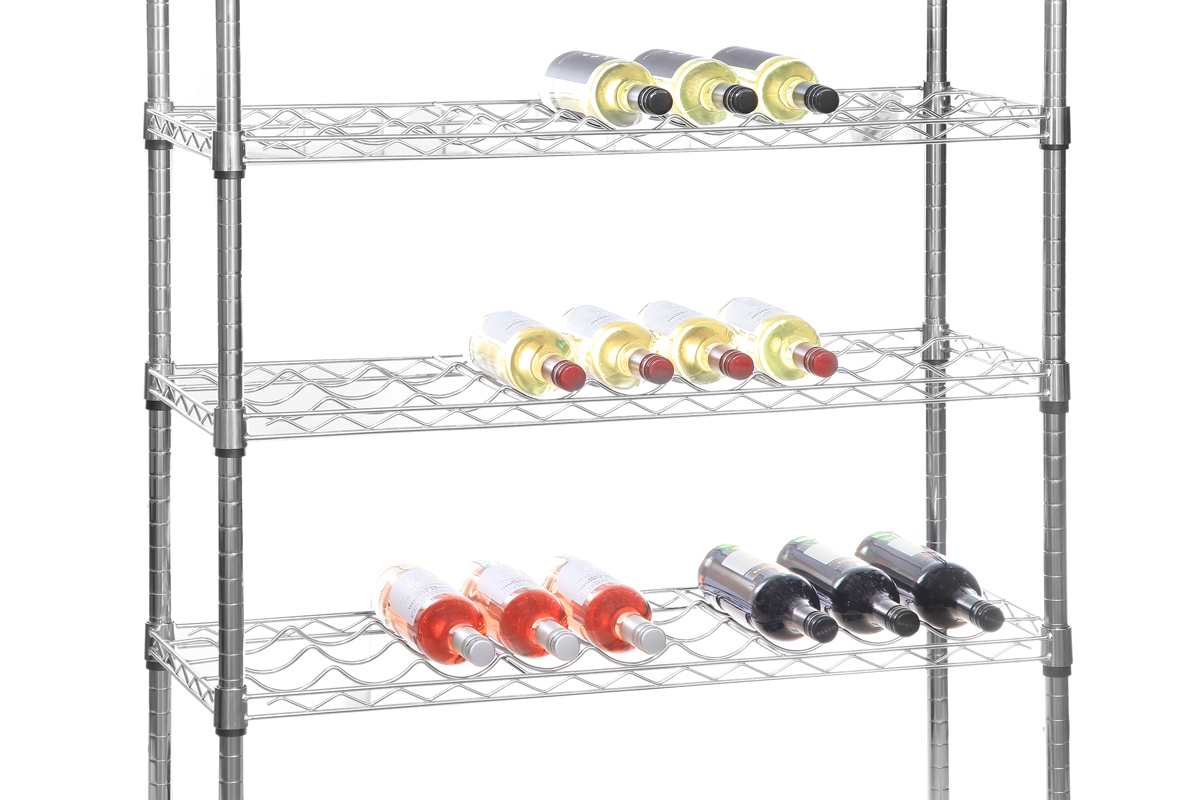
Wine rack shelves also have the same assembly steps. As with all units, make sure that the shelves are the right way up.
Clothes Racks
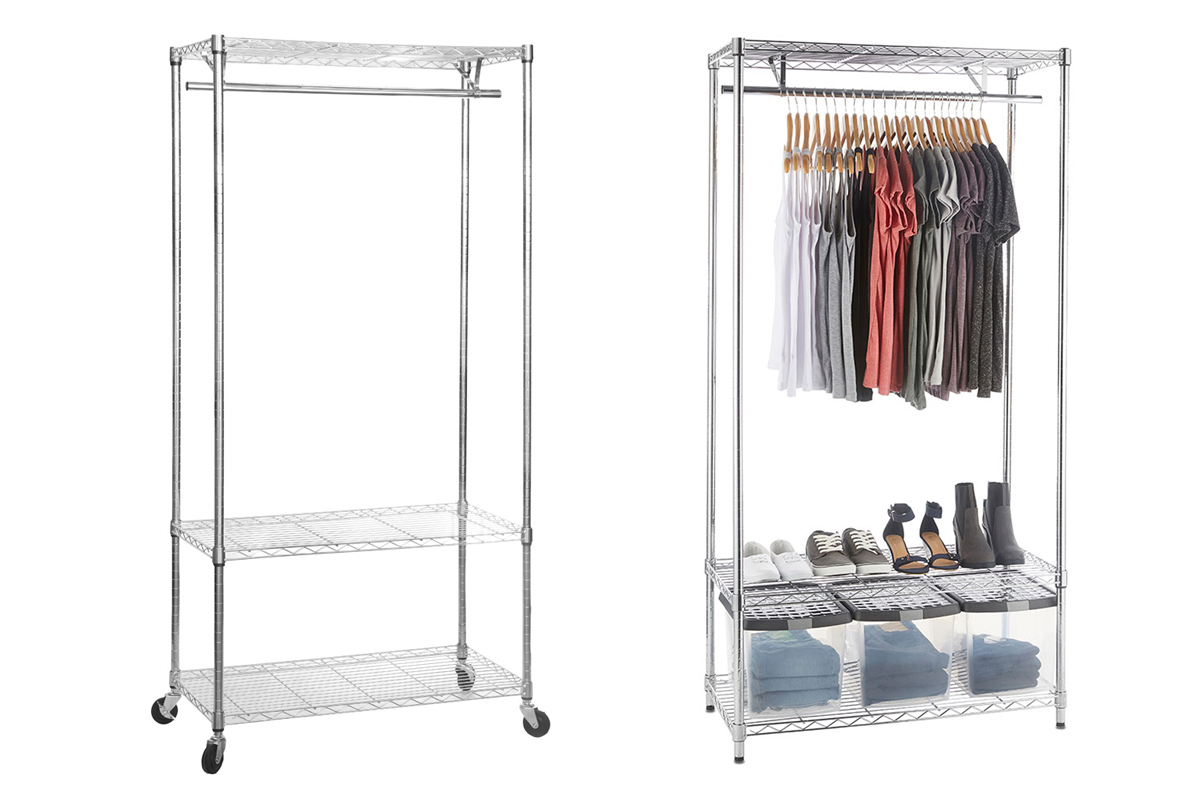
Our Clothes Racks are very similar to our Chrome Wire Shelving Range and are designed for clothes storage with the addition of a hanging rail.
We recommend viewing our Clothes Rack Assembly Guide for full details on these products.
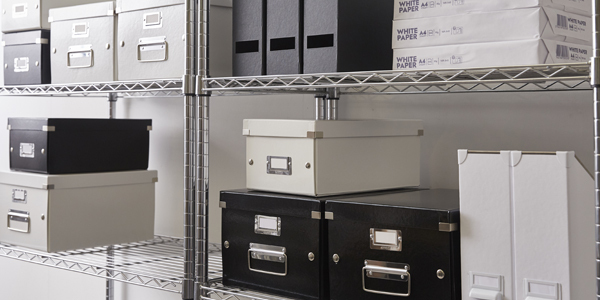
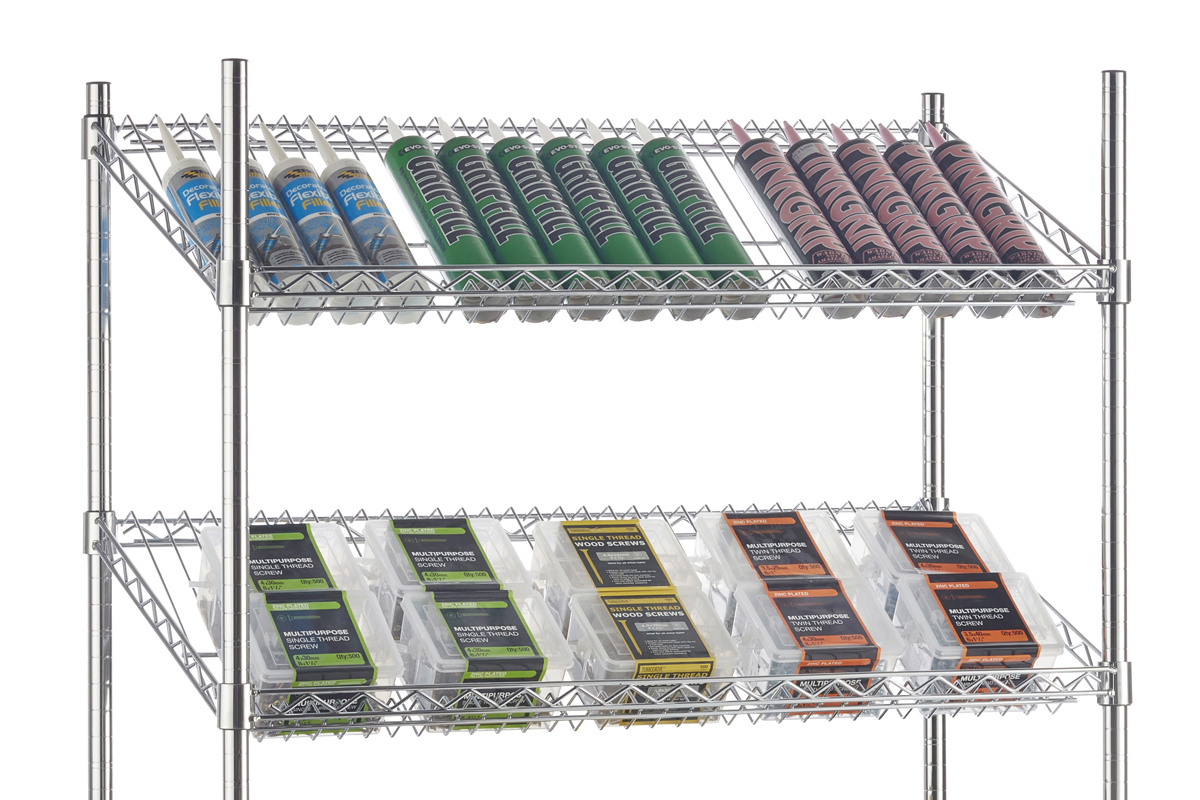
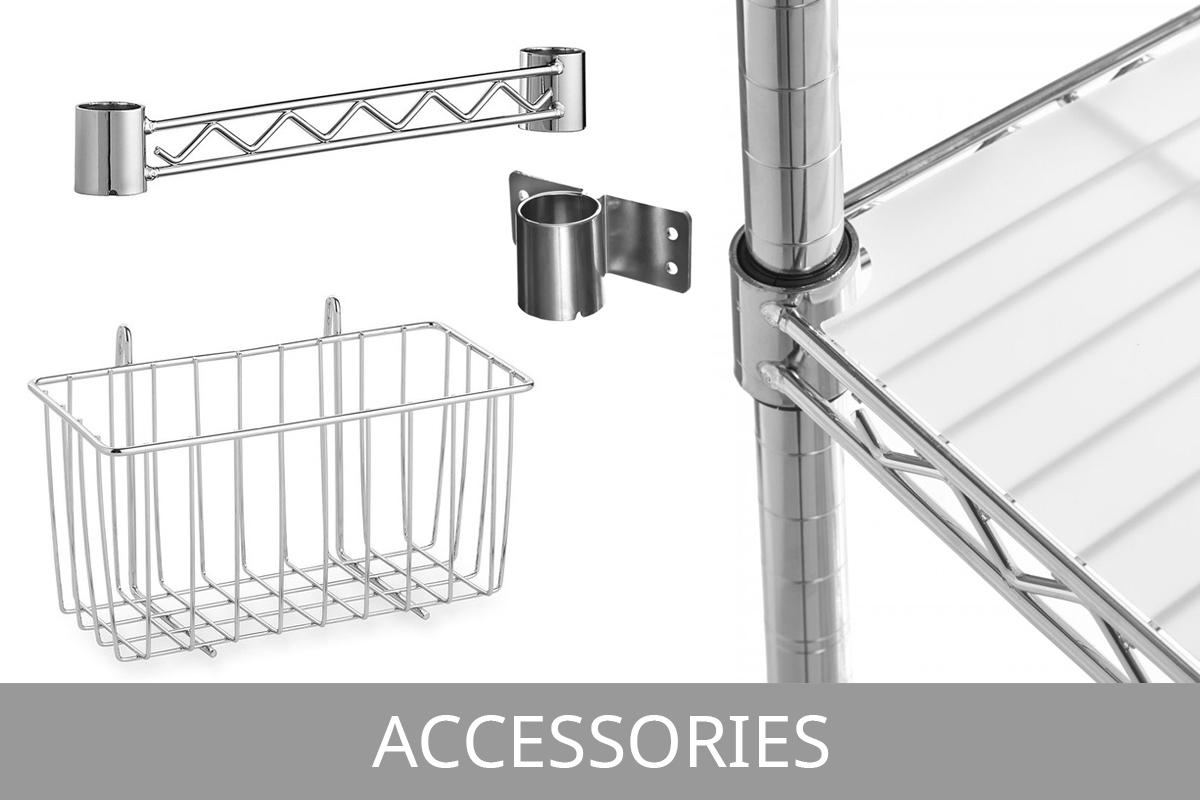
Accessories, Components and Storage Boxes
We have a selection of accessories available for our Chrome Wire Shelving, all of which are straightforward to add, like Side Rails or Label Holders.
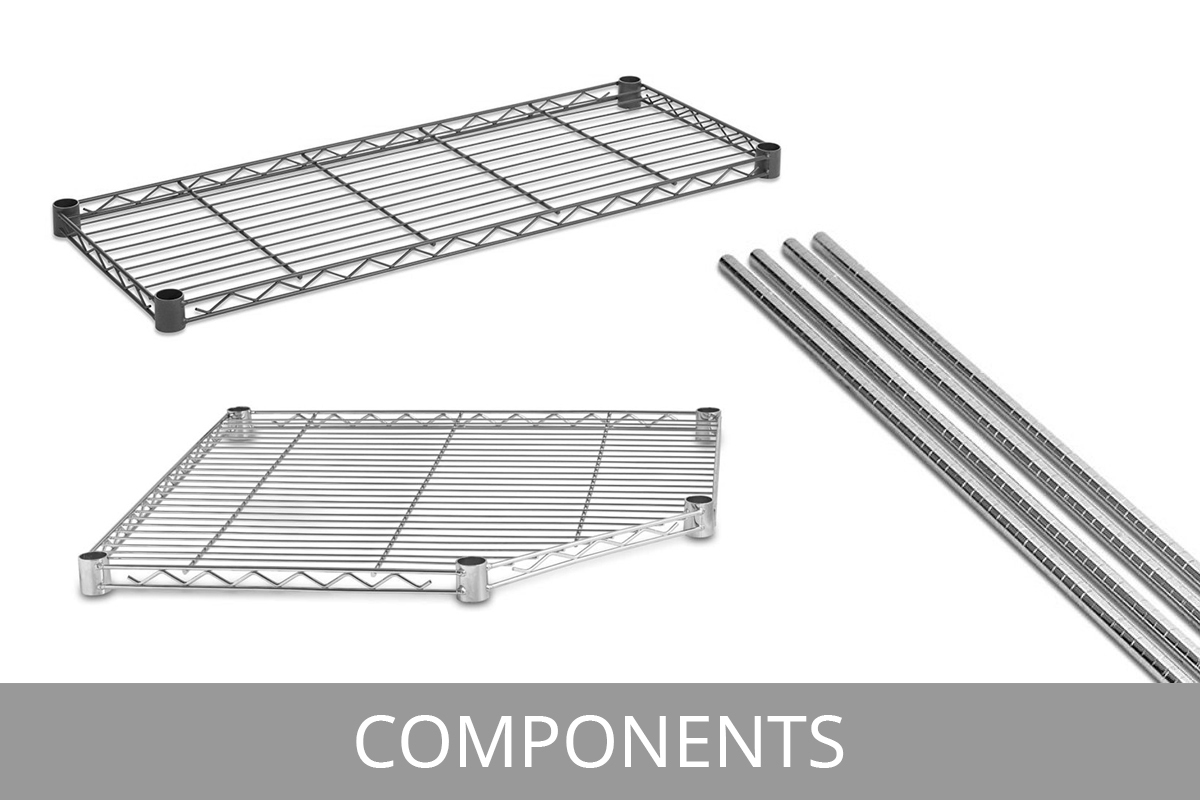
If you decide that you'd like additional components, such as an extra Shelf or Castor Wheels, we do also offer these separately. Components are available in different sizes and variations, and in Chrome or Carbon Grey finishes.
For extra storage, pair with Storage Boxes for organised and structured shelving. These are available separately or in Chrome Wire Shelving and Storage Box Bundles.
We hope you found this guide useful and successfully assembled your Chrome Wire Shelving unit.
If you have any questions, feel free to call us on 01258 650 954 or email sales@shopfittingwarehouse.co.uk and we will be happy to help.
If you have any feedback on this guide, please Email Support and let us know.
Related Knowledge Base Guides
-

Chrome Wire Shelving:
Our GuideExplore our guide to Chrome Wire Shelving.
-
Chrome Wire Shelving:
For Display & StorageView our top reasons for using Chrome Wire Shelving.
-
Slanted Chrome Wire Shelving:
For DisplaysLooking in more detail at our Slanted shelving range.