Assembly Guide: Glass Shelves
This guide covers assembly for the Wall-Mounted Glass Shelves.
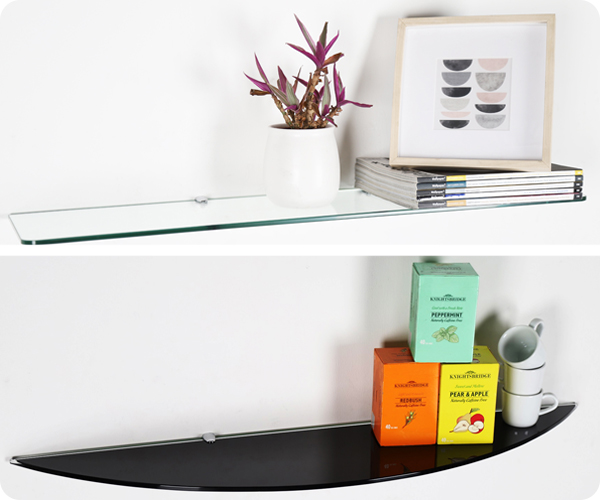
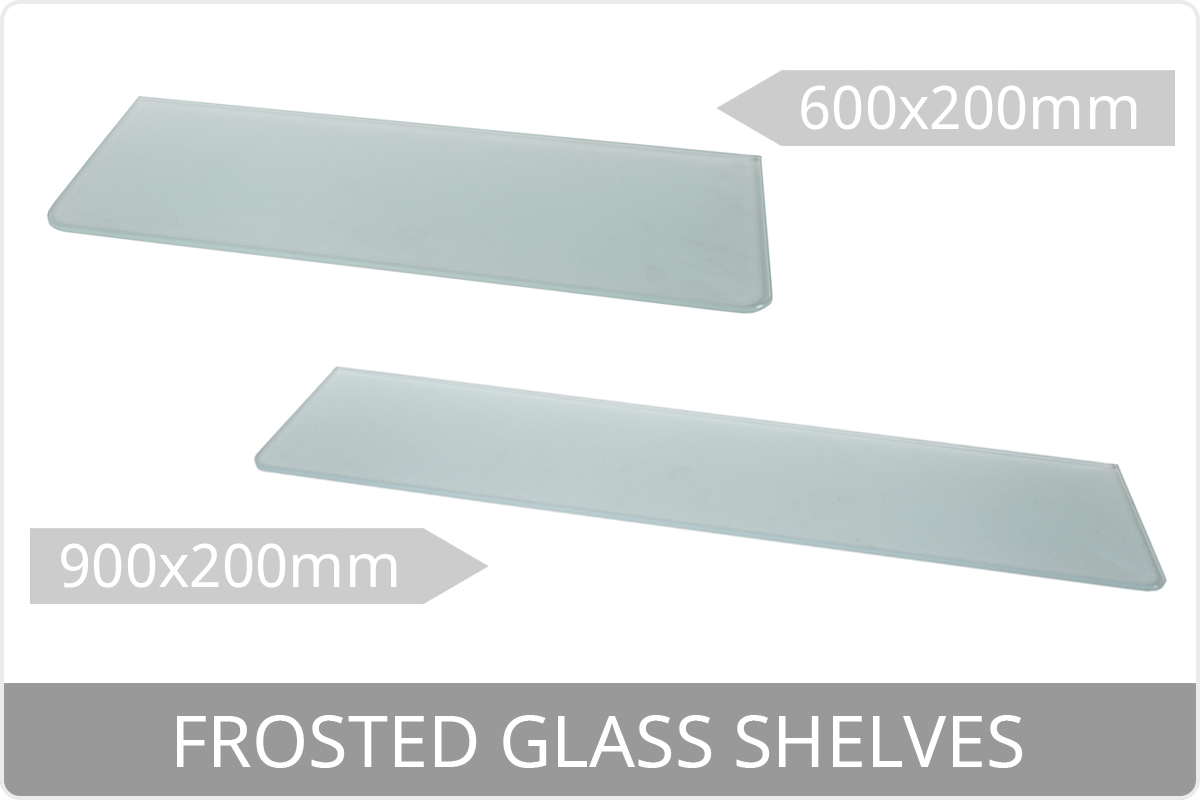
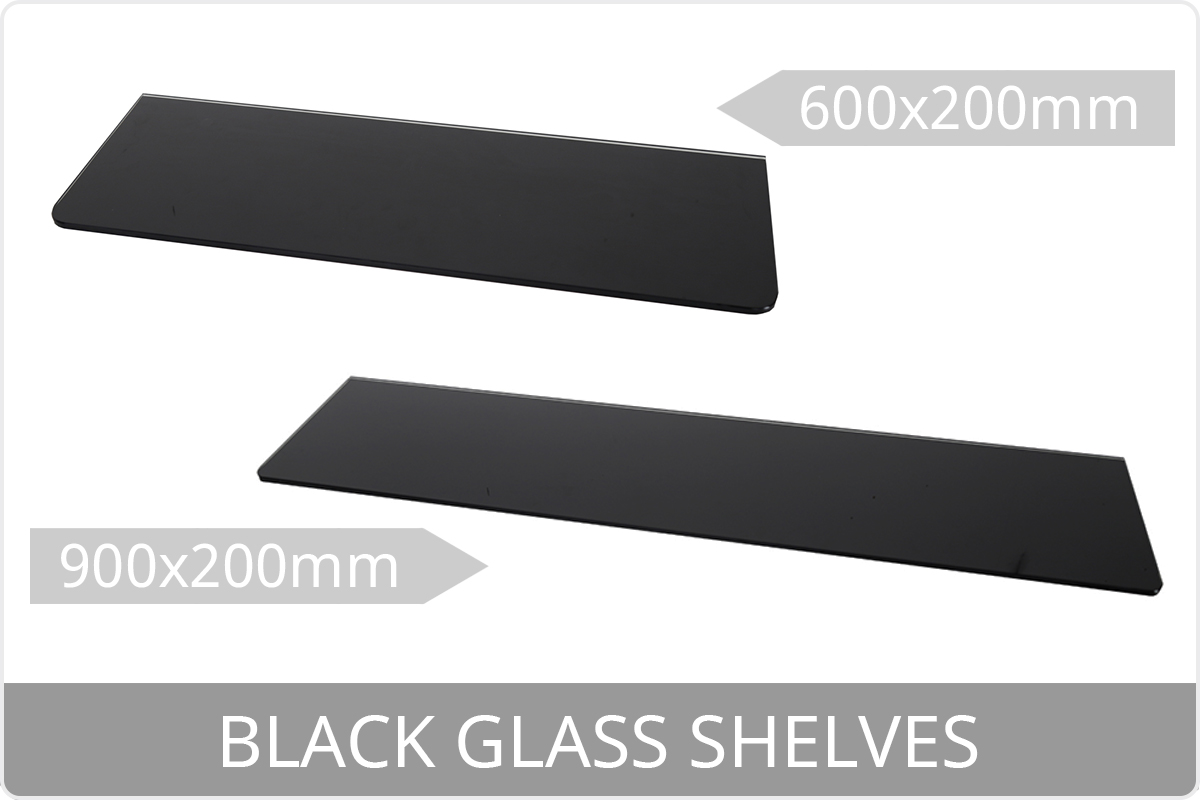
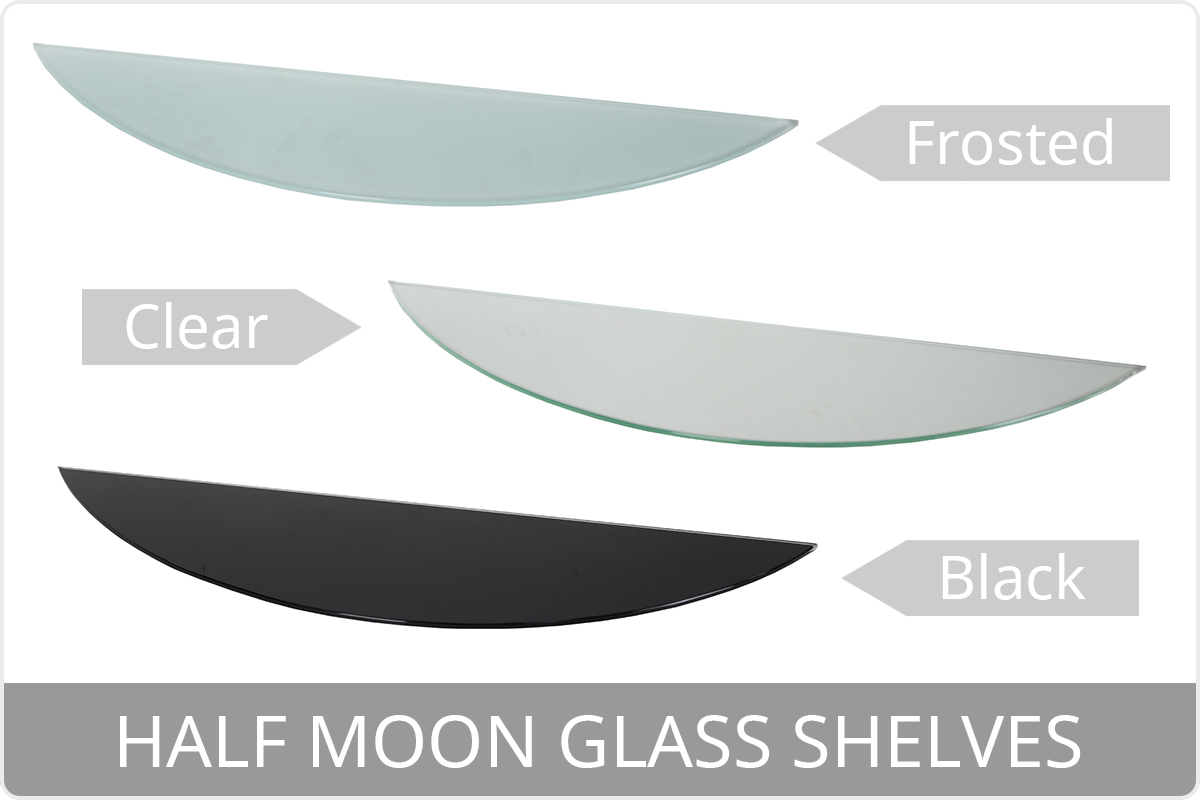
Wall-Mounted Glass Shelves: The instructions below are for our wall mounted Glass Shelves. They apply to the various shelf designs (rectangular and half moon).
Note, that these instructions are not suitable for Glass Shelves for Slatwall, as they require different components to affix. Please refer to the product pages for further details on compatibility.
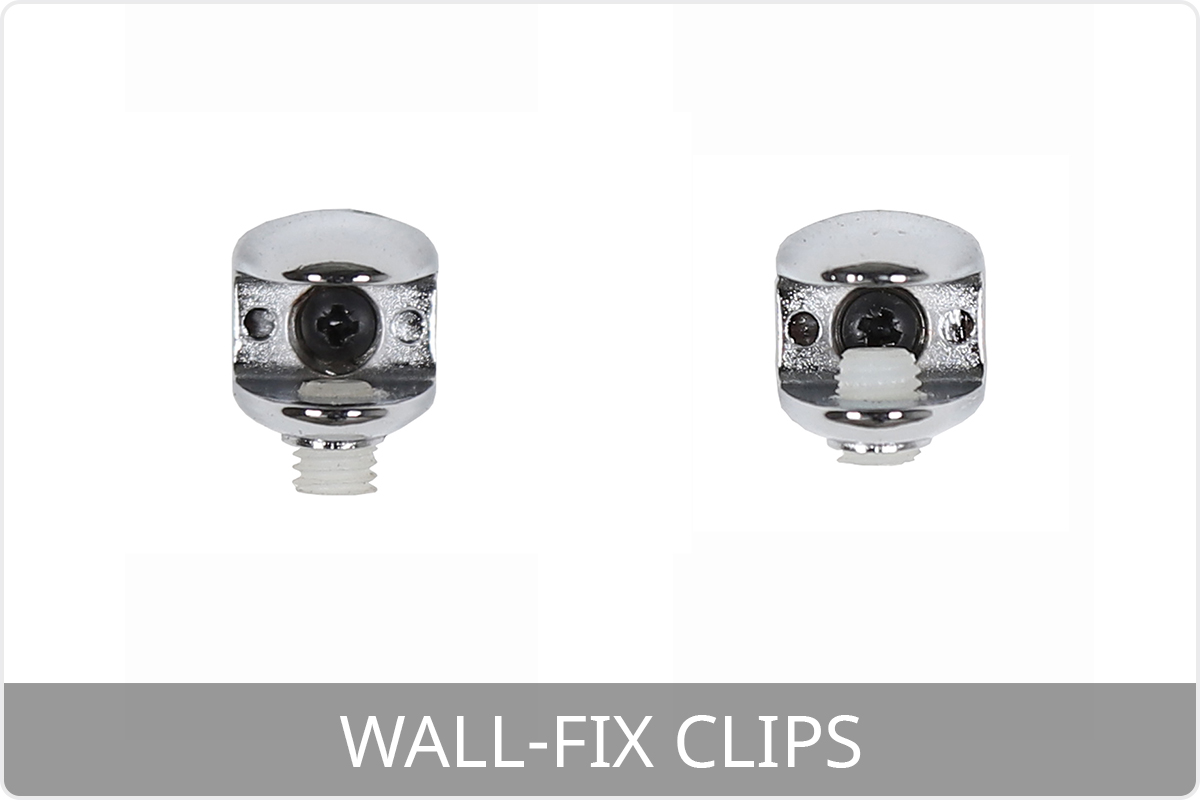
Fixings: The Chrome Wall-fix Clips (or also referred to as Brackets) come with fixings supplied, although we recommend that you check the wall you plan on affixing your shelving to. Different walls may require different fixings compared to what is provided. If you are unsure, please contact a professional for advice.
Note, the Glass Shelves will say on the product page and title if they come as a kit with the Clips. If it does not, then you will need to get the Clips separately. Please refer to the product page for details.
Weight Loading: The maximum recommended weight loading for the Chrome Wall-Fix Clips is (2 items minimum) 15kg. As with other shelving we offer, the maximum weight loading should be universally distributed across the shelf, rather than concentrated on one spot for the highest security.
Important Safety Information
- Read through all instructions on this page before beginning any assembly
- Before commencing assembly, unpack carefully and check you have all components
- If you think that you have received defective parts, please do not use and contact us
- Assembly will void returns, except if a manufacturing fault is found
- If you are unsure about assembly, please ask our team or a professional
- Your shelving must be fitted to a suitably strong wall surface
- You must use the appropriate wall fixings for your wall*
- Do not use on an uneven or curved wall
- Do not overload your shelving
- Assembly is done at your own risk
Tools Required
- Tape measure
- Spirit level
- Power drill
- Screwdriver
- Pencil
- Pilot drill bit
- Masonry drill bit
- Rawl plugs*
- Screws*
* Fixings ARE included. However, you may require different fixings depending on the type of wall you are planning to fit this to. Please consult a professional for further advice if required.
Components in your Box
Depending upon which shelving arrangement you have purchased, these are some of the parts included - check your product’s page for a list of individual components on specific kits. If you need help selecting the right items, speak to us.
Technical Information / Specifications
Spacing for Chrome Wall-Fix Clips
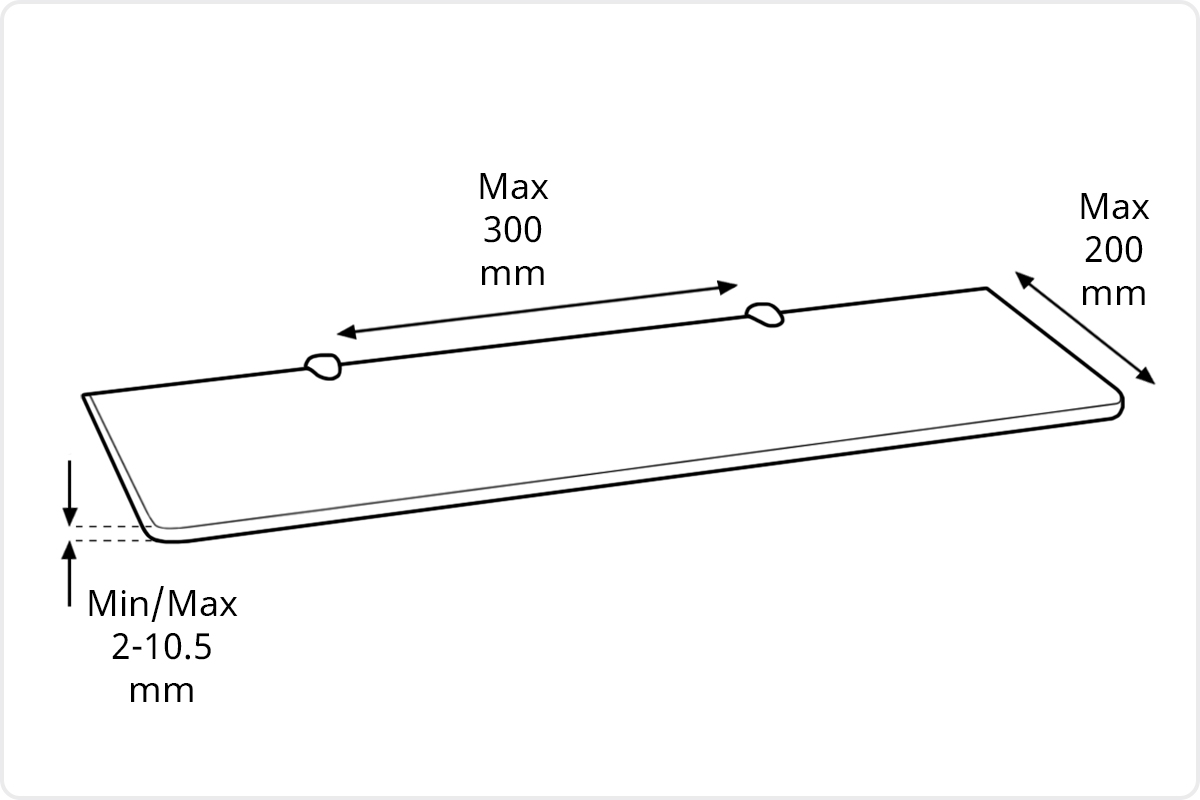
Spacing between Clips: Max. 300 mm
Shelf depth: Max. 200 mm
Shelf thickness: Min. 2 mm - Max. 10.5 mm
Weight Loading for Chrome Wall-Fix Clips
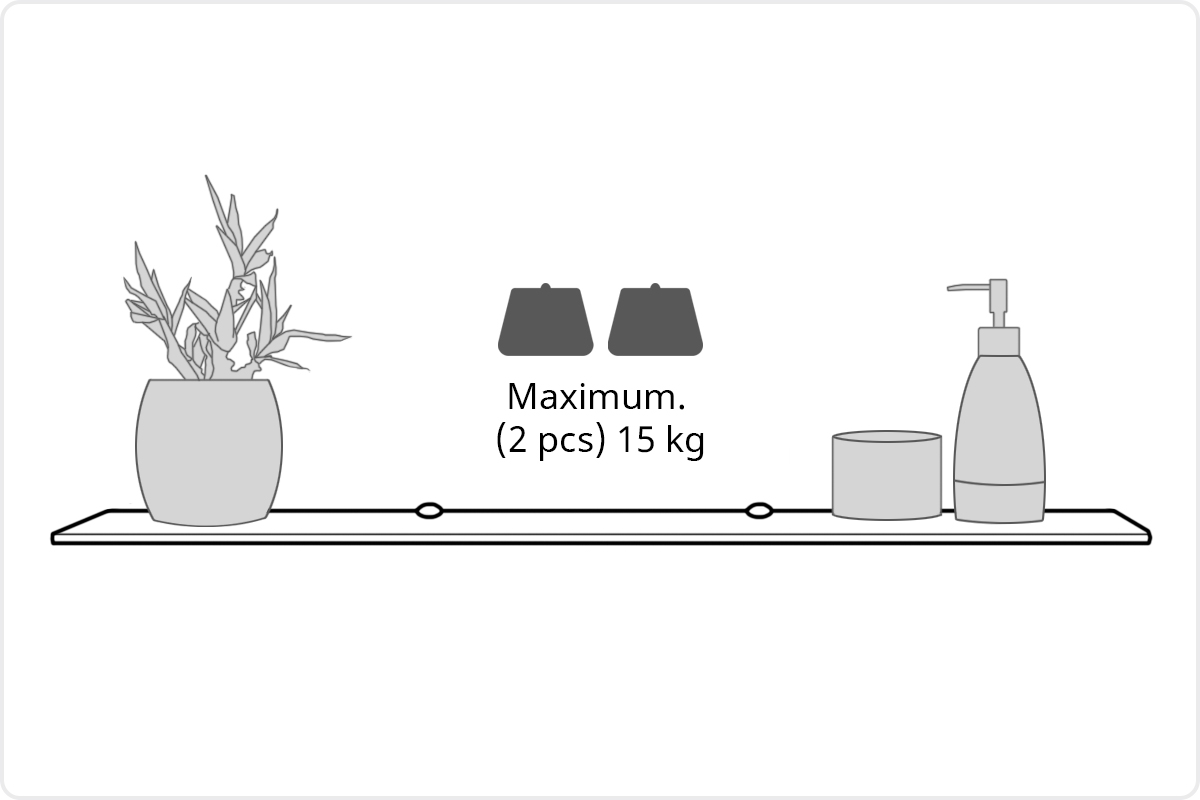
Weight loading for Clips: Max. 15 kg*
*Recommended min. 2 objects to space loading across the shelf.
Fitting the Chrome Wall-Fix Clips
1. Mark placement for the Shelf and Clips

Decide and mark where you want the shelf to be on the wall. You may find it helpful to mark where you want the centre of the shelf to be, so you can gauge where you'd place the clips (or brackets).
We recommend you follow clip placements as outlined above with a maximum of 300 mm between the clips and ensuring the shelf measures no more than 200mm depth. All the Glass Shelves (linked above) fit this criteria.
2. Affix the first Clip onto the wall
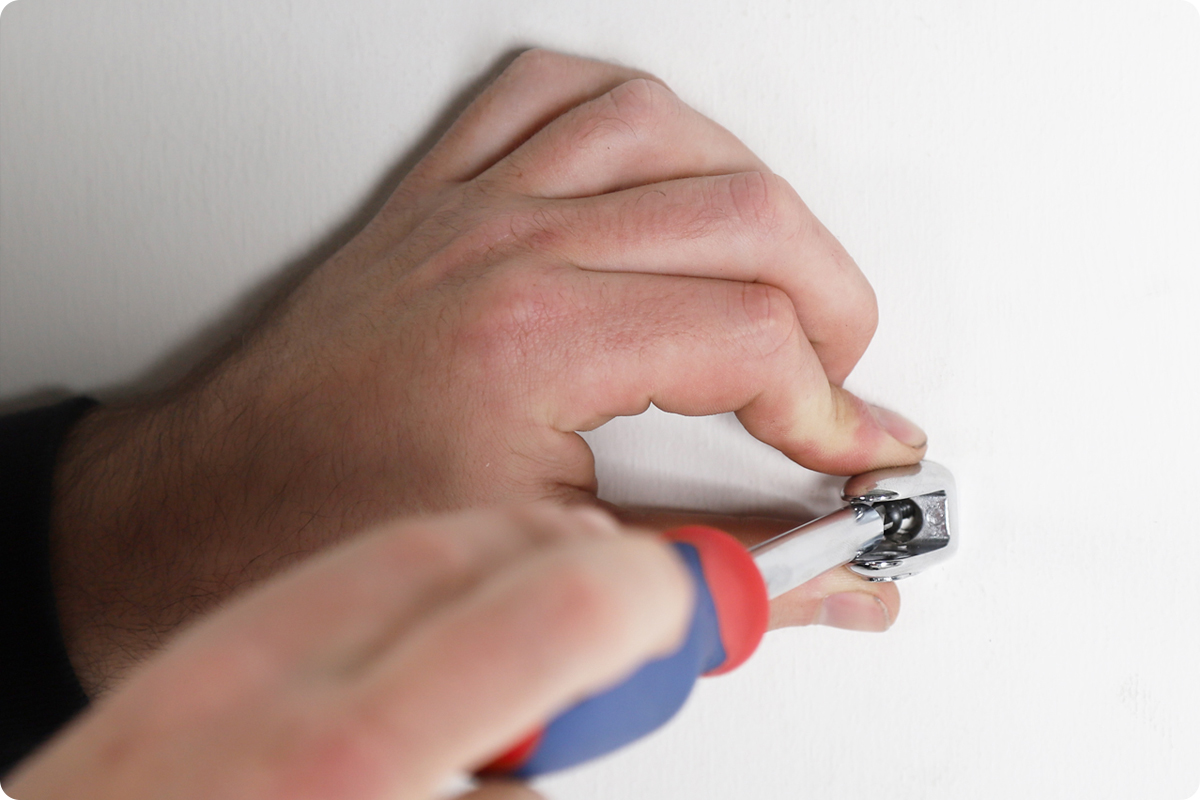
Fix the first Clip into place, making sure that the side with the hole is orientated facing downwards. This will be used for the grommet, which will hold the shelf in place.
Whilst fixings are included, we recommend that you assess your wall first as you may require different fixings as to what is supplied.
3. Affix the second Clip
Affix the second Clip, using a spirit level to make sure that both Clips are at an equal height to make sure that when the shelf is added, that it is even.
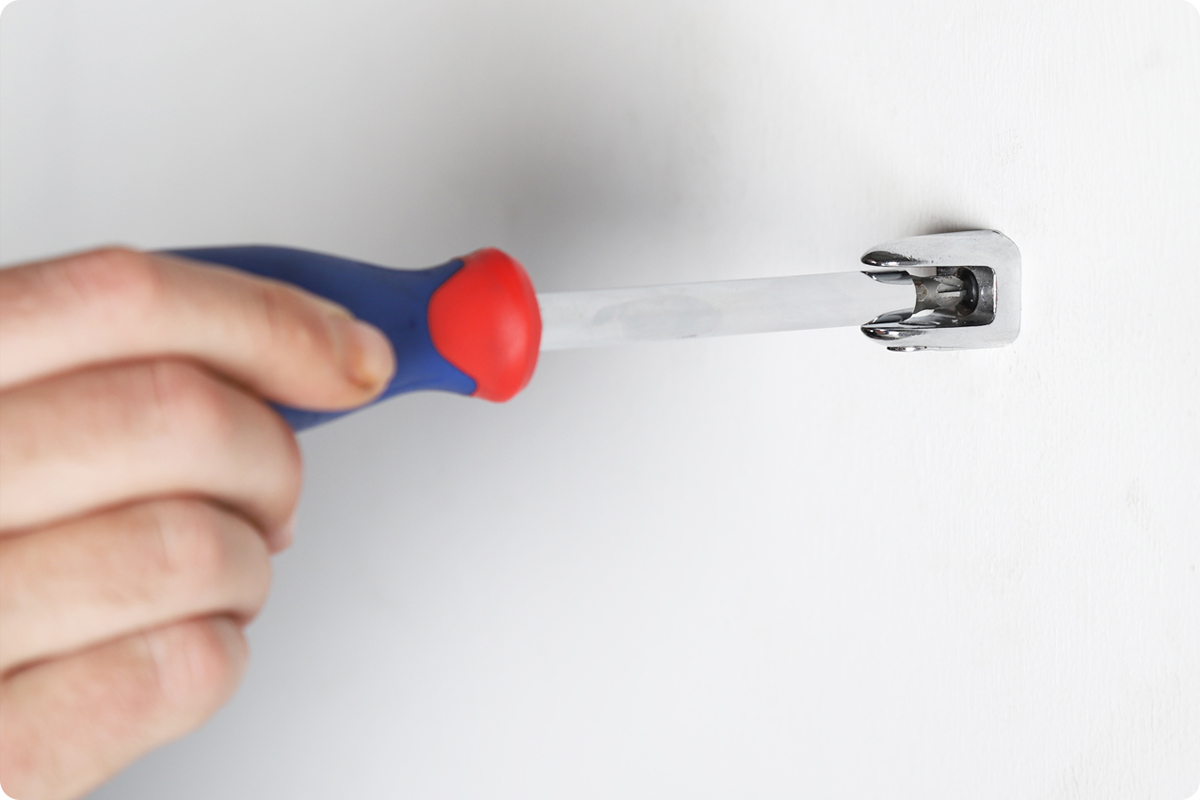
4. Add grommets to Clips
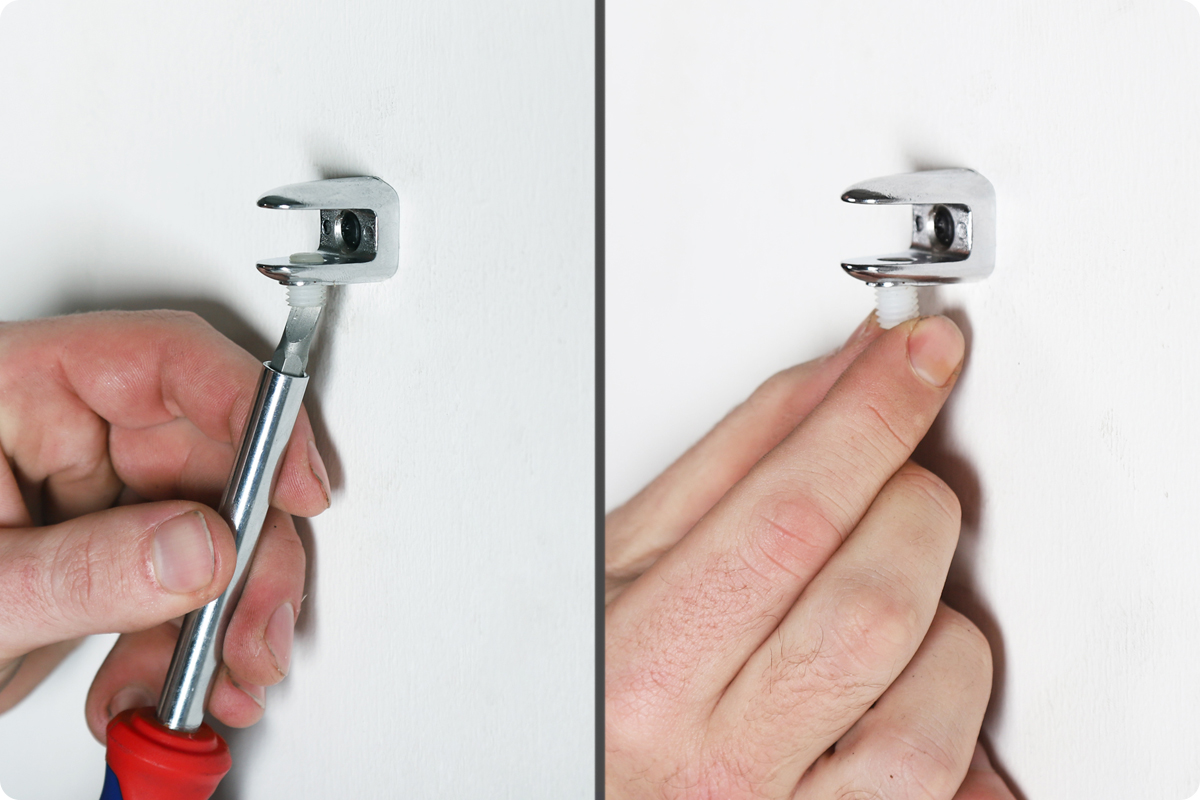
Add the grommets to your clips. These are what secures your shelf in place. You can do this with a screwdriver but you should be able to do this by hand too.
Fitting the Shelf
1. Position the Shelf onto the Clips
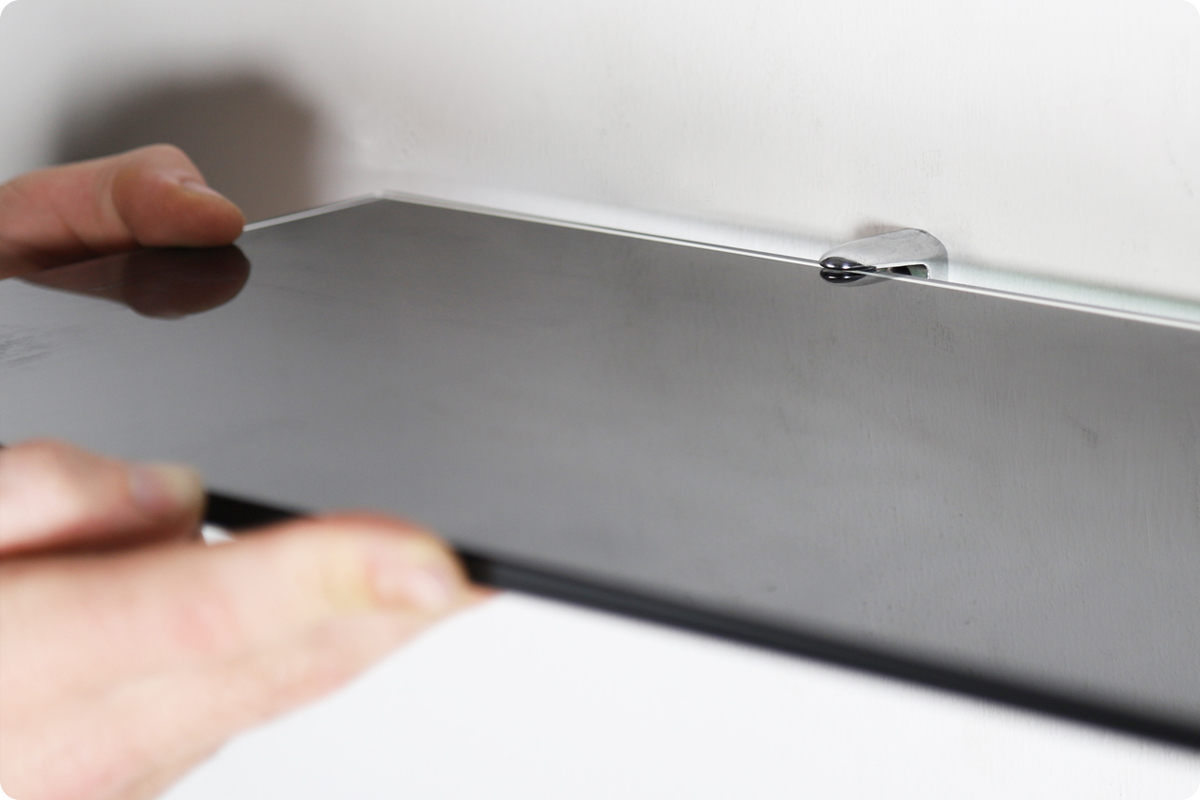
Place the Shelf onto both Clips and adjust positioning to ensure that the overhang is even on either side of the Clips.
2. Secure the Shelf using the grommets
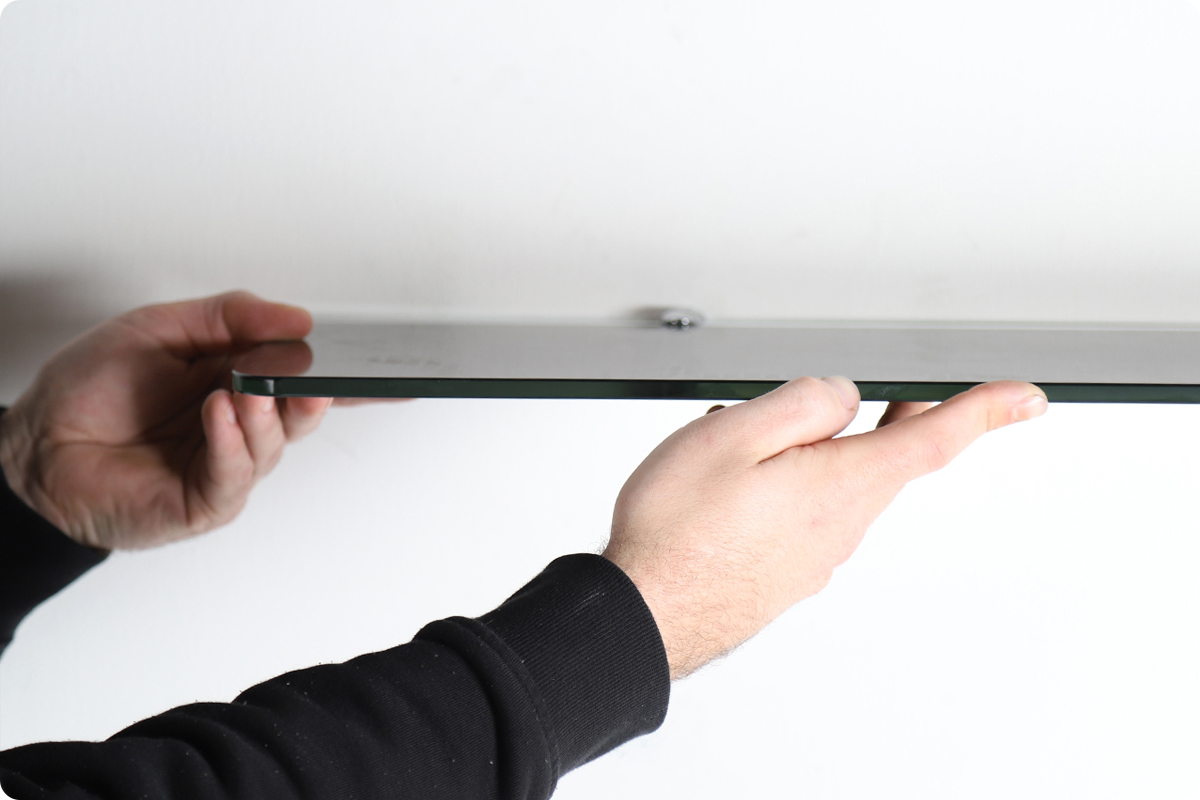
Once happy with the placement, secure the Shelf using the grommets to hold it in place.
We hope you found this guide useful and successfully assembled your Glass Shelving.
Pair with our Wall-Fix Hanging Rails for a unique and versatile display and storage option.
If you have any questions, feel free to call us on 0800 834 782 or email sales@shopfittingwarehouse.co.uk and we will be happy to help.
If you have any feedback on this guide, please Email Support and let us know.
Related Knowledge Base Guides
-

Twin Slot Shelving:
DIY GuideView our guide for fitting Twin Slot Shelving to different walls.
-
Flexx Shelving:
Knowledge BaseDiscover everything you need to know about Flexx Shelving.
-
Display Walls with the Wow Factor:
Knowledge BaseAn article how to create an effective display wall.